Hello everyone,
In this 2 part tutorial I will show how I made the base for Bör
Dragonbane. This first part will cover how the base was build from start to finish.
Please excuse the not-so-great pictures, I couldn’t pull out my photo set up in between every step 😉
Material needed:
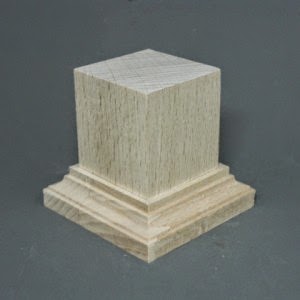
• Display plinth (any type of cube will do, as long as it’s workable – mine is wood)
• Milliput
• Rock material (about 0,3 to 1 cm)
Any kind will do. You can also use cork, tree bark or sculpt
your own rocks. The material you use will of course influence what type
of stone it wil look like. I have used the ‘slate rocks’ that come with
the Warhammer 40K basing set
• Small rock material (about 1 to 2 mm) (same comments as above)
• Superglue
• PVA glue
• Fine basing sand
• Pumice paste (Vallejo’s stuff is great)
Step 1:
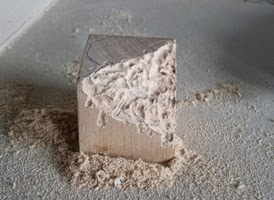
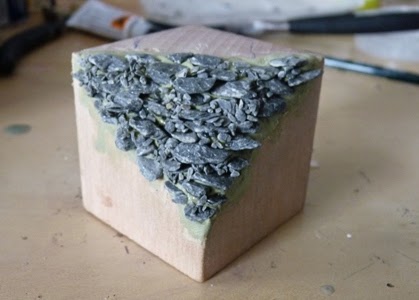
Cut away a corner of the plinth, using a wood saw, a dremel or any other
tool to your liking. This does not have to be very precise, because it
will be covered in the next step. Varying the shape of the cut away
piece can help you create different shapes to the rock base.
Step 2:
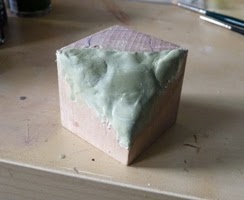
Cover the entire cut away shape with at least 2 mm of milliput. You can
be sloppy, it doesn’t matter. Also cover slip-ups to the side of the
base, later on you can sand the sides of the base to make everything
smooth. Don’t let the putty harden at this stage.
Step 3:
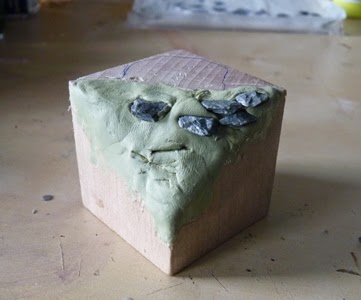
Now push the rock material piece by piece into the putty. Leave some
space (about 0,5 to 1 mm) in between the rocks, and create any pattern
(or better yet just place them randomly, like normal stones would) to your liking.
Step 4:
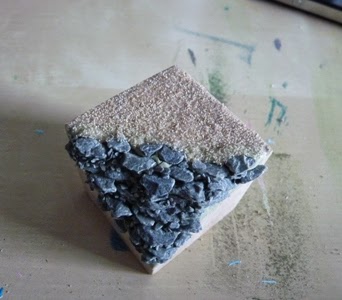
Cover the gaps between the rocks with superglue and spread some of the
small rock material. Move the material around (with a toothpick for
example), to put it in the position of your liking.
Step 5:
Cover the top of the base (the horizontal part) with thinned down (1:1)
PVA glue, and spread a thin layer of fine basing sand over it. Shake off
the excess sand.
Step 6:
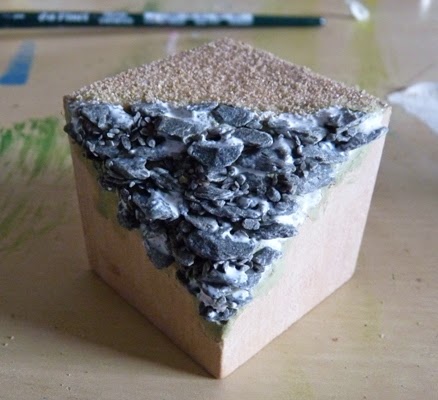
Cover the remaining gaps (in the rock part) with diluted Pumice Paste
(1:1). You can see it as white specks on the picture. Also apply some randomly over the rocks. Leave to dry overnight.
This concludes the first part of this step by step. Please go HERE to see how the base was painted.
