This tutorial was written by my for WAMP.
Hi everyone,
In
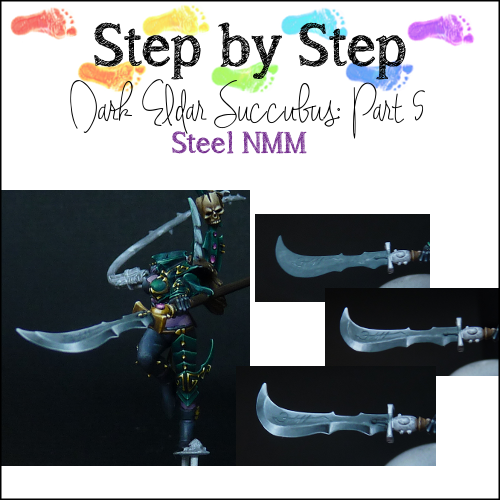
this step by step, I want to show you how I usually paint steel NMM.
I’ve tried making a picture in between each step, but sometimes hardly
anything can be seen on a picture, so those pics are left out.
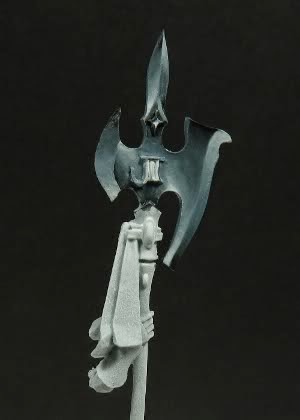
For this tutorial I painted the halberd staff of the high elf lord Caradryan.
Before
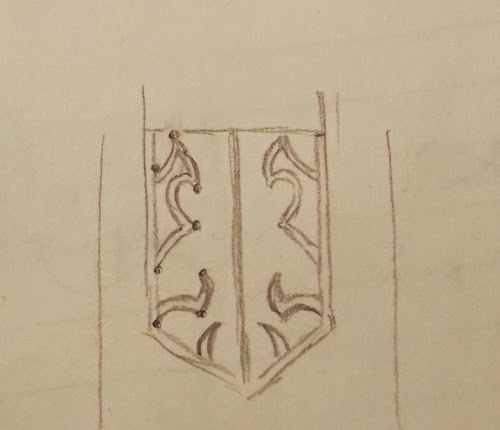
I start working with paint, I like to make a simple sketch in which I
block in the shades. After drawing the sketch I slightly squish my eyes
and look if the shading/highlighting could look realistic.
For painting non-metallic metal, I use the following paints: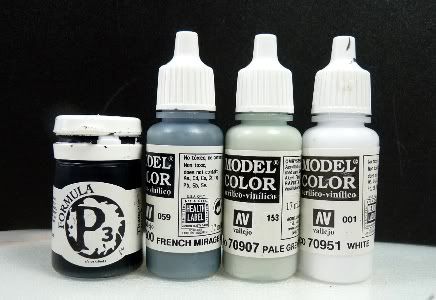
In the shadows I use black, this is a paint from P3. For the extreme
highlights I use pure white (White from Vallejo). The middle colours consist of a
slightly blue-ish grey (French Mirage Blue by Vallejo) and a grey
off-white colour (Pale Grey by Vallejo).
On
my wet pallette I create mixtures between the colours. This step is the
same for all colours, but I describe it only for shades 1 to 5.
Shadows:
Shade 1: pure black
Shade 2: pure black (1) and french mirage blue (5) in a 3:1 ratio
Shade 3: pure black (1) and french mirage blue (5) in a 1:1 ratio
Shade 4: pure black (1) and french mirage blue (5) in a 1:3 ratio
Shade 5: pure French Mirage blue
(to make it easier, in order to get shade 2, you mix shade 3 and shade 1 in 50/50 ratio)
These steps are then repeated for the mid-tones (from French mirage blue to Pale grey), and for the highlights (from Pale grey to pure white).
Now it’s time to start painting. The staff is primed in white.
Step 1:
Paint the whole area in shade 7 (French mirage / Pale grey 1:1)
Step
2:
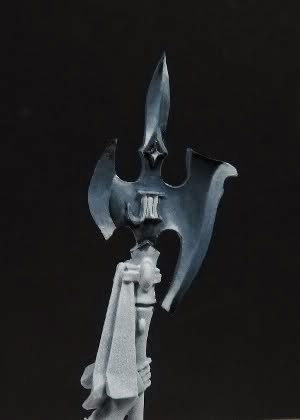
Start by shading the areas with shade 6 (French mirage / Pale grey 3:1) and then , in a smaller area shade 5 (pure French mirage). With each darker shade, you should paint a smaller area
within the already shaded part.
TIP: When painting the shadows, try to ‘push’ the paint towards the
direction of the darkest shade. Use this method with every step.
Step 3:
Shade with colour 4 (pure black / French mirage 1:3).
Step 4:
Shade with colour 3 (pure black / French mirage 1:1) and then 2 (pure black / French mirage 3:1).
Step 5:
Shade only the smallest area with colour 1, black.
Step 6:
In this step I made the shaded are a bit larger, mainly by adding larger areas of colour 5 (pure French mirage).
Step 7: Go back to the basecolour (French mirage / Pale grey 1:1), try to clean up some of the blends with this colour.
Step
8:
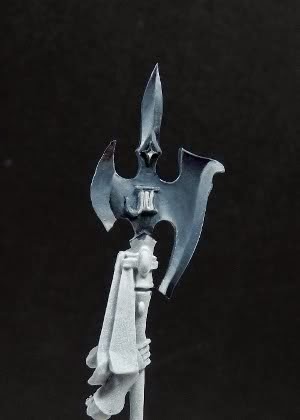
Start by highlighting by applying colour 8 (French mirage / Pale grey 1:3) in the same manner as you
painted the shades (with decreasing the painted area and by pushing the
paint towards the highlights).
Step 9
Highlight with colour 9 (pure Pale grey). No picture, sorry I forgot.
Step 10: Highlight with colour 11 (Pale grey / White 1:1 ratio).
Step 11: Highlight with colour 13 (pure white), to the very final spots
As
you can see, I did not use colour 10 and 12, because there is not so
much difference in brightness I don’t think it is necessary to use
those.
Step
12:
Carefully clean up the transitions between the colours. You can
make this step a bit easier by diluting the paint a bit more. When using
very dilute paint, be careful to wipe your brush before applying the
paint to the model, you don’t want the paint to run. It is hard to show a step by step process of this, because you go back and forth with the colours a lot, to make it look nicely blended.
Additionally, add a
thin line of pure white to the sharp edges on top of the halberd.
Applying this with the side of the brush will make it much easier to
control.
Step
13, last step:
Make a glaze of Liche Purple (GW), 1 part paint, 5 parts
water. Carefully apply this to the darkest shades, for adding a bit of
colour. Make the last clean-ups and the NMM is done!
I
hope you enjoyed this step by step. I’m hoping to write some more in
the near future, so if you have any suggestions or comments feel free to
share them.
