Hi everyone,
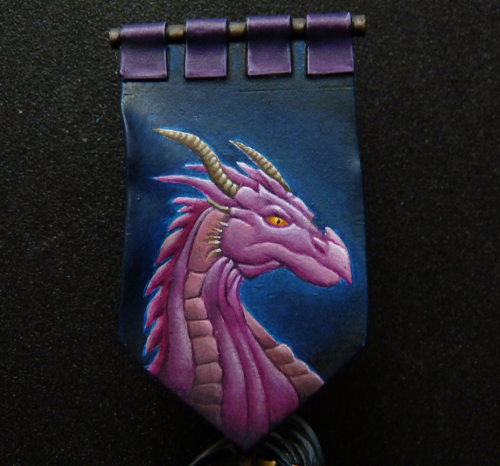
In this post I would like to share with you how you can easily make a banner. There are many ways of course, but this is how I recently made one and it turned out to be very easy, and also very strong so you don’t have to worry about it breaking easily.
Materials needed:
– A thin plastic sheet, preferable transparent.
I have used the plastic from a GW blister package
– Round plastic strip, 1 mm
– A sheet of thin lead foil
I used one from Verlinden Productions, which I purchased at the Dutch webstore Scenery Workshop (great service by the way, I highly recommend this shop!)
– Super glue
– Plastic glue
– Hobby knife
– Ruler
– Lighter
Step 1
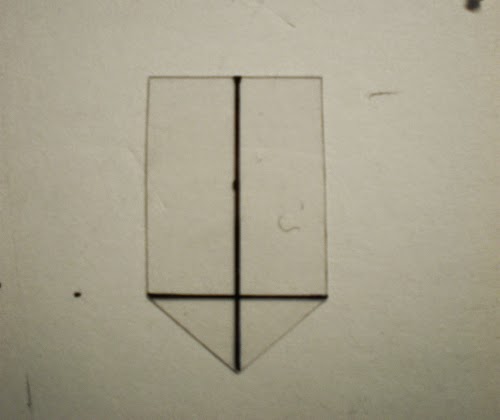
I started by cutting the shape of the banner from the plastic sheet.
Step 2
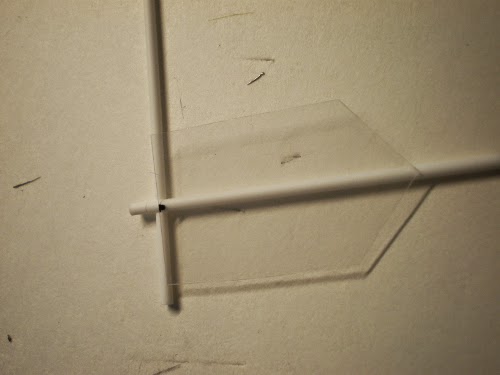
Then I cut two pieces of plastic rod and align them, in a T shape, to the banner. After I was sure that the position was correct, I carved space into both pieces of the plastic rod so the pieces will stick together really well.
After fitting everything is cut to match, but I didn’t glue anything yet….
Step 3
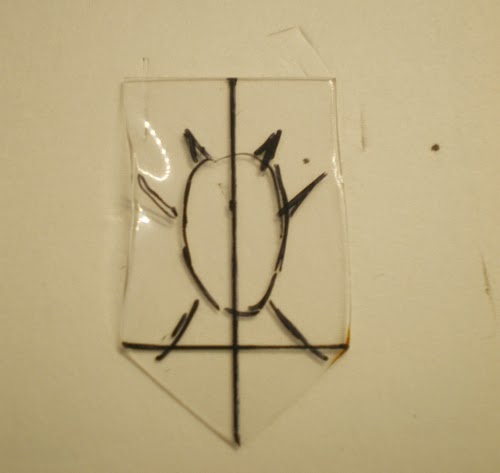
It would look a little weird if the banner flag would be too rigid, so I heated up the plastic a little using a lighter. And I took my time shaping the flag how I wanted it. As the banner will eventually be painted with a freehand, I didn’t want to make too strong folds.
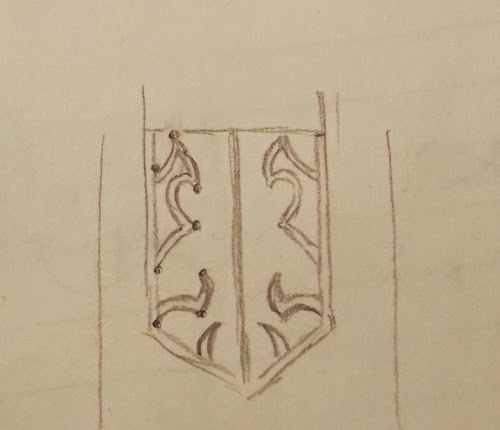
Then I drew this silly shape on there to see how the freehand painting would look more or less, but I didn’t have any alcohol to take off the permanent marker. Silly me!
Step4
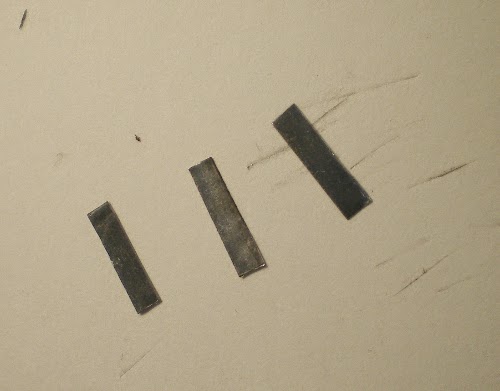
Now I needed something to make it look as if the banner was actually hanging on something. I cut out 4 small pieces of lead foil (the fourth was taking a walk when I took the picture).
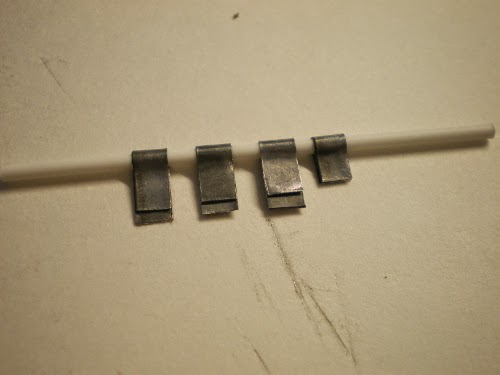
The pieces of foil are then wrapped around a spare piece of plastic rod. I made sure that the bend was more or less at the middle.
After this, I cut all four pieces to the same length as the right one on the picture above.
Step5
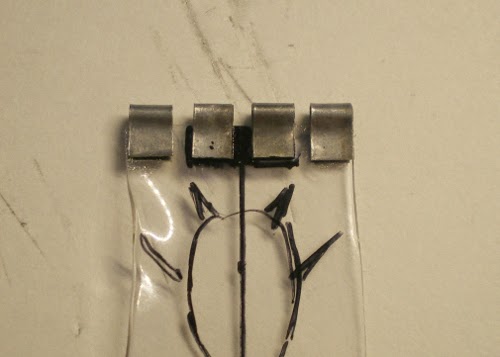
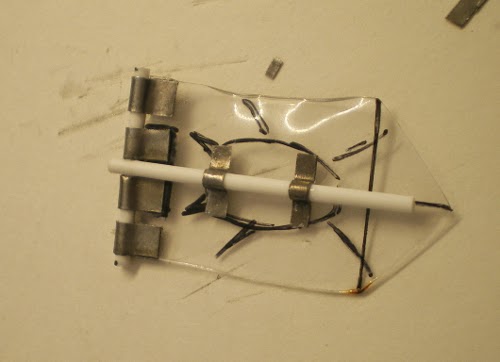
To me, this was the trickiest part. Now the foil pieces needed to be glued to the banner. After fiddling a bit, I realized it was easier to glue them to the banner first, instead of to the horizontal pole.
I started by fitting them, while slid over the upper pole, to make sure I wouldn’t glue it wrong. Of course, it is important that the plastic rod will still fit after glueing the foil to the banner.
This is what it looked like after I glued the lead foils to the banner.
Step 6
Then it was time to put the other pieces together. I started by glueing the horizontal rod in the lead foil pieces. Then I added the vertical rod to the horizontal rod, using the holes I carved in step 2.
I guess you can imagine what this looks like, so you can see the result in the next steps pictures.
Step 7
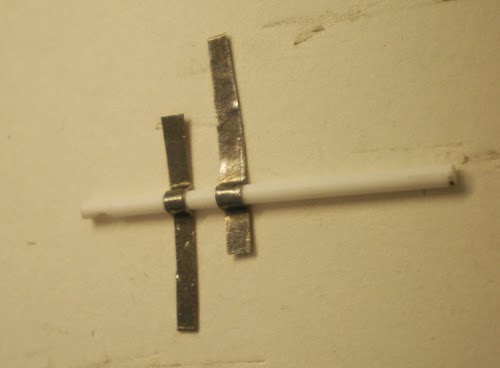
Finally, I wanted to add a bit more strength to the vertical rod, so I cut two more little pieces of lead foil. I used the spare piece of plastic rod, and folded the pieces over them, so they would have a flat bottom:
I cut them to size and glued them to the banner pole and the vertical rod, like so:
Step 8
The banner is finished. Now I just drilled a little hole into the bottom of the vertical rod so that I can easily attach it to the figure later on.
I hope you enjoyed this little step by step!
