Hi everyone!
Finally I managed to work a bit more an Alice. No painting, but building her base. I thought maybe you would like to see how I made the base, so I took some pictures along the way to show you.
This base required quite some planning, and I have to admit that my plans have changed again and again. The very first idea was a lot more elaborate, but in the end I scratched it because I think it would become too crowded and it would take away the focus from Alice.
So in the end I decided to go for the idea of making Alice’s living room. As Alice is adorned with some pretty steampunk parts, I wanted to do the same on the base, but still hope to contain that indoor, livingroom feeling.
This is what I used to make the base:
- A wooden display base (Sockelmacher)
- Plastic sheets (thickness 0.25mm and 0.5mm)
- Plastic profile in rectangular shape
- A sheet of balsa-wood, about 1.5mm thick
- Modelling plaster
- Non-sticky clay
- Milliput
- Steampunk parts (The small pieces came from Hasslefree, the big I don’t remember)
- Picture frames (Thomarillion)
- Tiny flasks (Tabletop Art)
- A very sharp scalpel (as my thumb confirms :P)
- Wood glue
- Plastic glue
- Superglue
- Tape
- Cutting mat (I think it will be hard not to notice it in the pictures 😉 )
I will cut up this step by step into three parts: Making the wall, the floor, and putting everything together.
Making the plaster wall
I wanted to use plaster to make the wall, as walls in reality are also sometimes made of plaster, so I thought it would look realistic. So to pour the plaster I had to create a mold. For this, I used this method which I found on David Soper’s blog HERE.
I started by rolling out a bit of non-sticky clay. You can use a clay like play-doh for this. I used two sheets of balsawoods on the sides so the thickness would be even (you can probably better use something else than balsawood, but I was lazy and it was closest). I cut out the rolled piece of clay into ribbons like so:
After that removed the ribbons from the cutting mat and placed them around my base, so make sure that the wall (which I will pour in the hole) will be exactly the same width as the base. I made one part a bit longer, as this will not be aan exact square.
After carefully closing the gaps between the clay, I poured in the plaster. I poured way more than necessary. I always do that, because usually the water will float to the top. After about 5 minutes I removed the upper layer so that the plaster became as thick as the clay.
Then I left it to dry overnight. It will look like this: Left = What you see, right = the underside.
Ughh yes it is very messy, but now it is very easy to remove the plaster from your clay mold.
On the left picture you can see that the plaster has dried very irregular on top, with some breakage. I liked that effect, so I decided to use this side of the cast for my wall.
I ended up with my wall piece, here you can see what it looked like before I cleaned it with a scalpel.
Adding the wall to the base
If I would glue the wall directly on the base, that would become incredibly unstable and very vulnerable to breaking. We don’t want that! So I cut out a piece of plastic sheet in the dimension of the piece of plaster + base + a little small area that I will fill later.
Then it was time to glue the plaster to the plastic, using superglue. At this point I didn’t glue the plastic to the base yet, because that would make it harder to assemble in the end, instead I temporarily fixed it with tape.
Making wooden panels for the wall
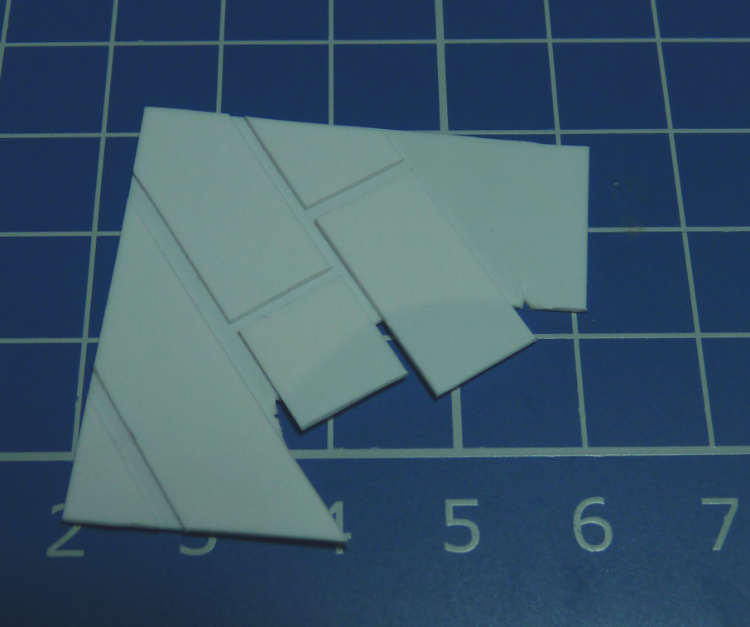
I had this idea of making a wooden board on the bottom part of the wall. First I cut a piece of thicker plastic (as thick as the plaster wall) to be put in the little empty space you see in the picture above. The reason I made this piece out of plastic instead of just making a longer plaster wall, is that the balsawood doesn’t glue very well to the plaster. Also it was easier to make a little mouse hole in the plaster.
The piece of plaster is exactly the width of the wall. I also cut a piece of balsawood with the same dimensions, paying attention to the carvings in the wood.
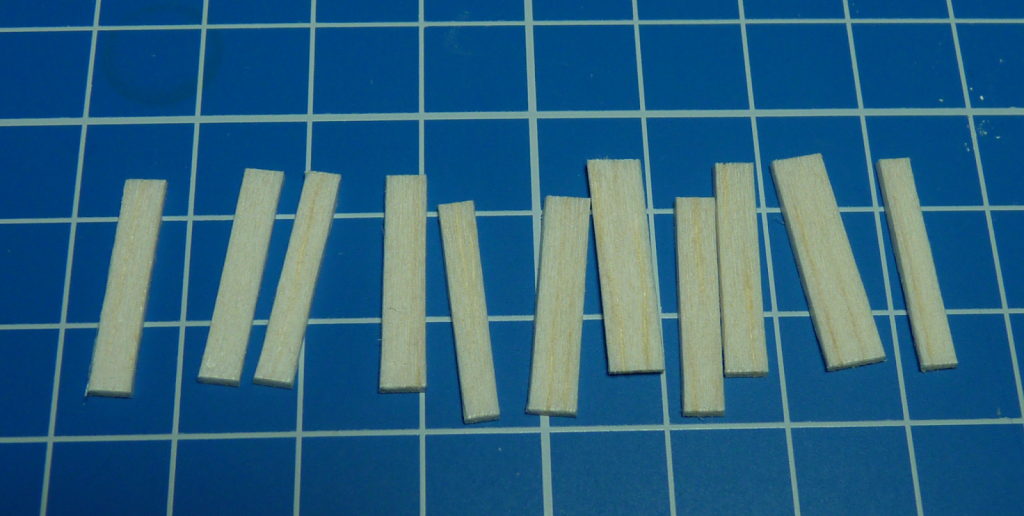
After this, I cut the balsawood into small panels.
To make it look a little worn, I used my scalped to make some extra carvings in the wood. Two plank pieces were make a little shorter to cover a part of the mouse hole.
Making the floor
I started out by cutting two squares of plastic sheet, in the same dimensions. One was glued to the top of the base (I don’t have a picture of that, but I think you can imagine it). The other I used to make the floor. On top of the sheet, I cut some larger planks / floorboards and glued them on top with plastic glue.
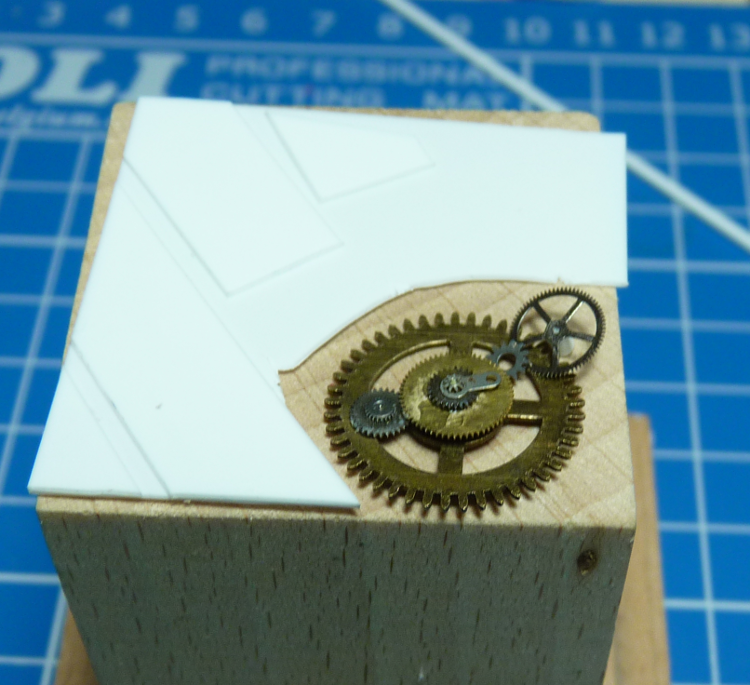
Next, I cut out a large hole at the corner. I also made more floorboards to cover the rest of the floor.
Putting together some steampunk details
Cogwheels! Who doesn’t love them?
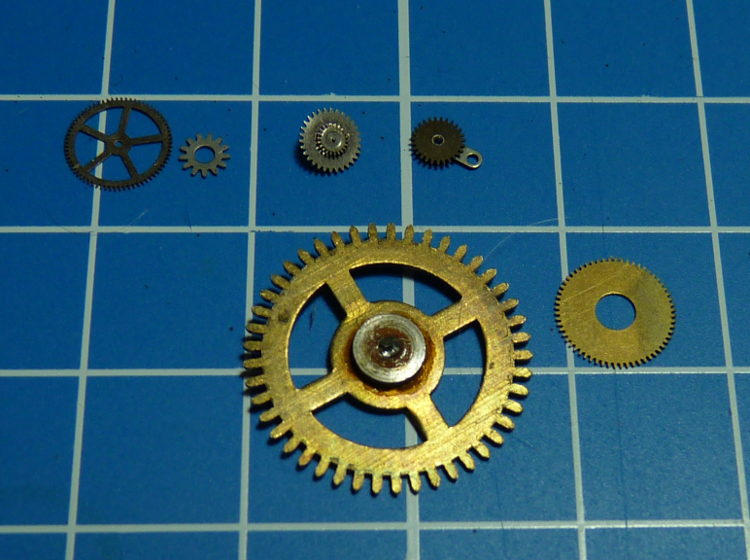
I used a couple of different sized cogwheels and pasted them together wit superglue. I also added some piece of milliput to create some spaces between the parts. At this point I really wished I had had a tiny tweezers, which would have made things so much easier.
Here are the pieces I used:
To make this piece stand a little higher I glued a small plastic tube on the bottom.
And below you can see how I assembled the other pieces, I am sorry I don’t have additional pictures of that. This is just a dry fit, to see what it might look like in the end.
Putting it all together
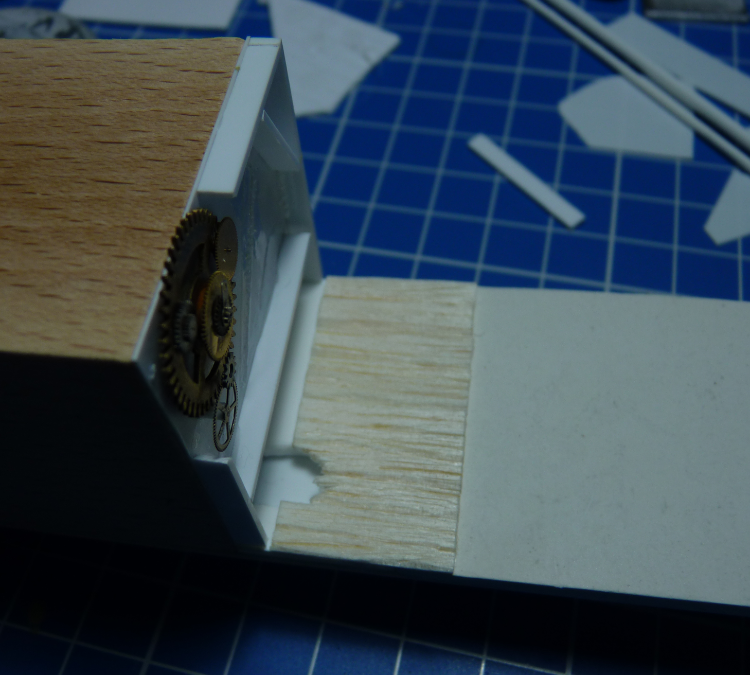
With all the pieces more or less done, it was time to start the assembly. First I pasted some plastic profiles on the edges of the floor to create room for the cogwheels which I also placed, using some milliput and superglue.
Then this ugly piece of work was made. This is the bottom side of the floor. I made a small container for milliput (which also serves to support the floorboards), so that later it will be easier for me to pin Alice to the floor. I kept this piece separate for the moment.
Then I pasted the wooden boards to the lower part of the wall, using wood glue, making sure I kept enough space to add the floar boards later.
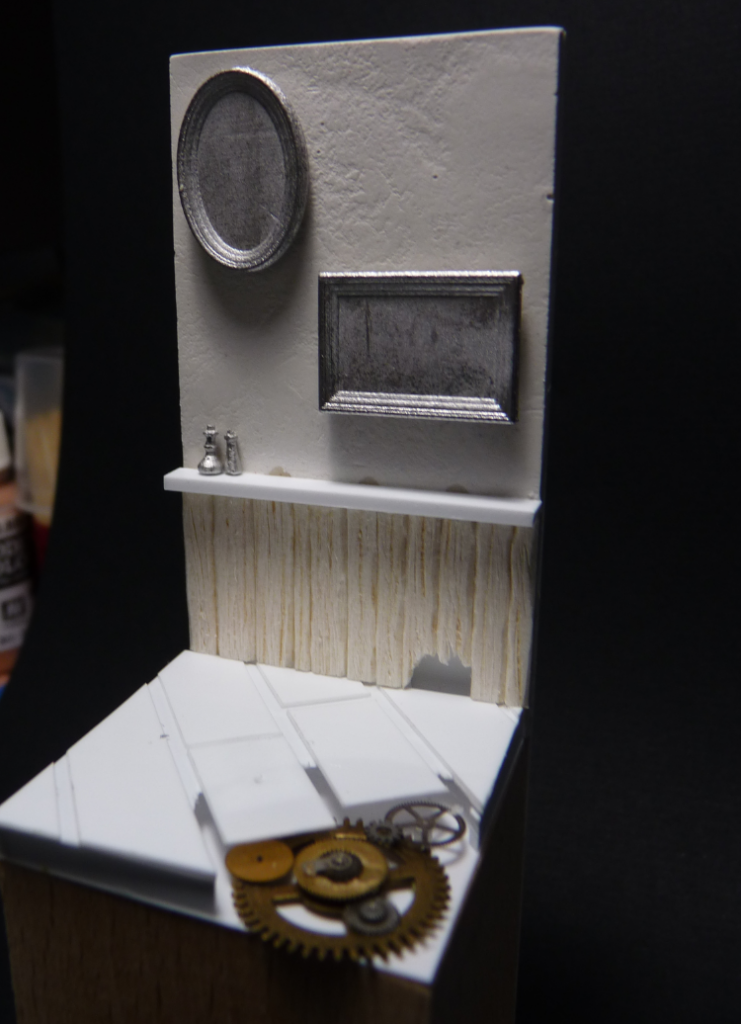
I then glued a thick piece of plaster to the wall to serve as a plank. I added the tiny flasks and the picture frames (with blue-tac for the moment, to make painting easier). At this point the assembly of the base is done. The floarboards are still not glued because it will make painting the cogwheels easier.
Which made me end up with this base:
I hope you enjoyed seeing some pictures of my work in progress, and perhaps this will give you some inspiration someday. I had a lot of fun making this base. I have to admit that this was the first time that I made such an extensive base that required so much planning, measuring and thinking, but in the end I am happy with the result and I cannot wait to paint it!
See you again soon 🙂
P.S. Don’t forget the giveaway:
Go to the Blog post or my Facebook page to take part in the raffle to win 3 Rackham minis!
