Hi everyone!
Let’s continue with the Dark Eldar Succubus :). This mini is turning out to be much more complex than I had anticipated, and takes more time to complete than I expected. But that is OK, I like this mini quite a lot!
Today I want to take you through the steps on painting the pink cloth, the fur cloak and the skull that is pinned to a spiky thing. I have tried to put up some bigger pictures, you can click for enlargement, though some of the pictures turn out slightly blurry when you do that…
In case you have not read the previous parts, so far I have covered:
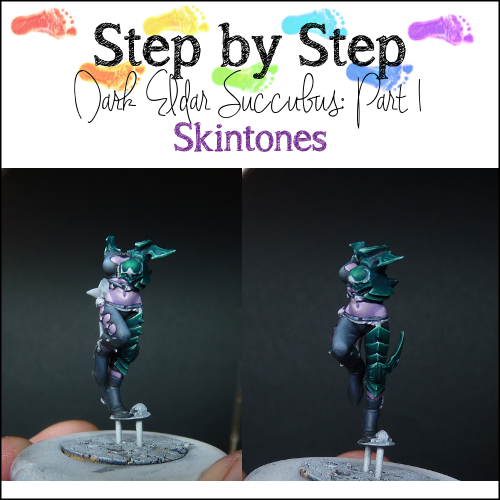
Part 1: Skintones
Part 2: Clothing & Armour
Part 3: Gold NMM & Leather Straps
You can find more information about the dilutions and consistency of the paints I use in those posts as well. Here is a reminder of the terms I use:
 |
| From left to right (purple stripes): basecoat consistency, layer consistency, glaze consistency |
If you want to keep track of my paintjob and see “work-in-progress” shots, please join me on Facebook.
So let’s continue with the mini 🙂
Dark Pink Cloth
Basecoat
I chose to paint a dark pink cloth, to not attract too much attention to that part. I did want it to be slightly vibrant in the highlights, just because I like that and it is in coherence with the rest of the mini.
Here are some tips on painting bright colours
I started by painting the basecoat with a mix of Warlock Purple (GW old colour) and Chaos Black (GW), in a ratio of 2:1. As this colour does not cover very well, I paint it in about 5 layers until it is opaque.
First and second shade
I started shading by adding more black to the previous mix. Now the ratio is about 1:1 warlock purple / chaos black. I chose to paint quite a large area in shades, as I don’t want the cloth to be too bright. I painted this shades using paint in “layering” consistency (see here).
For the second shade I diluted pure black and painted that in the smallest area of shadows.
Second Highlight
Then I painted another highlight on top of that, using paint diluted to layering consistency, but in a slightly smaller area with pure warlock purple.
I want to take a moment to show you something that I think is crucial for my style of painting. Even though I painted pure warlock purple in this step, the colour on the mini is not that strong as the colour in the pot. Even if I paint several layers it will appear much darker because of the darker undertone.
You can see this by comparing the colour in the pot with the picture below:
I want more vibrance, like the colour in the pot, and that is the reason for the next steps!
Second Highlight
I added a little bit of pink (vallejo) to the warlock purple, ratio 1:3. I used a less diluted paint: in basecoat consistency. Just to make sure it covers faster. I paint this on the very top edges.
Third Highlight
Lastly, I paint the final highlight. It is painted using pink (vallejo) & warlock purple in a 1:1 ratio. As you can see it is very light and a little too strong compared to the rest. This is done on purpose, as the next step will cover most of it.
Wash & Smoothing
Next I smoothed out the transitions using a very diluted mix of warlock purple (glaze consistency). I also made sure to cover the highest highlights in this step. When you do this, not only will the transitions become smoother, but in the highlights it will brighten up the tone a lot and get rid of the too strak highlights from the previous step. Further smoothing was done mostly in the shadows by adding a bit of black to the glaze.
Re-highlight
Then I re-applied the third highlight on only the top part of the knot on her hip, just to get a little more attention there. I made sure to smooth it in using a mix of the third highlight and warlock purple.
Fur
After that it was time to start her fur cloak. I painted the inside of the cloak using the same colours as I will describe below. I have no step by step for this. It was painted really fast and not too careful as most of the inside of the cloak is invisible. I chose to paint the inside before glueing the part because this way it was easier to reach.
After it was painted I glued the cloak to the rest of the figure.
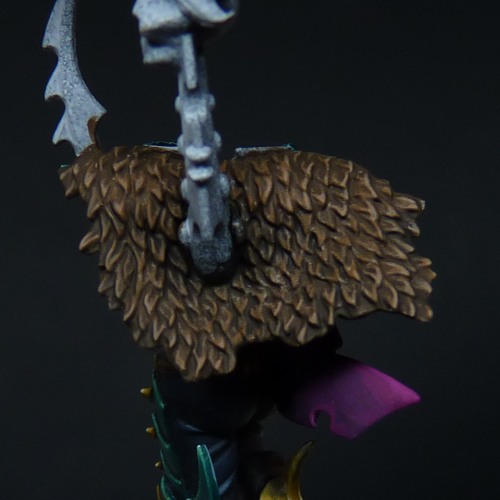
First Highlight
I used Gorthor Brown (GW) as the colour for the first highlight. I used a very undiluted mix for this, maybe even less diluted than the basecoat consistency. The reason for this is that I wanted to apply it only to the higher parts of the fur. The way I painted it is a lot like drybrushing: you cover only the raised areas. It is, however, different from drybrushing as my brush was far from dry and I used more control to place it exactly where I want.
Second Highlight
I added a little bit of pale sand (Vallejo) to the gorthor brown (ratio 1:2), and painted this in the raised fur on top of the cloak, on the bottom of the cloak and on the sides. The middle (where the pole is) I left untouched. I used basecolour consistency with this step, making sure that my brush was not too loaded. If you have too much paint on the brush it will creap into the crevices.
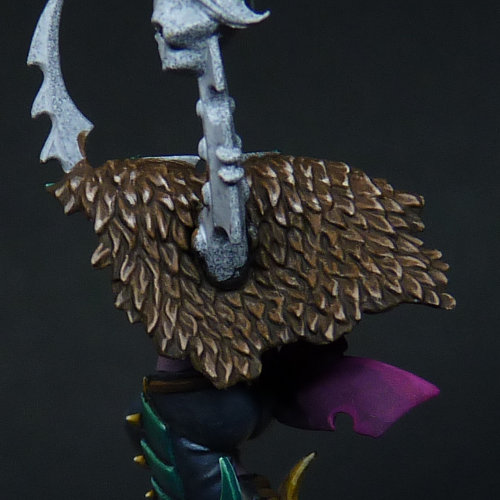
Third Highlight
More pale sand was added to the previous mix. (2:1 ratio pale sand to gorthor brown). I painted that on the very outer fury bits on the bottom and sides, and to the fury bits on top of the cloak.
First shadow
I used a mix of Leather brown and German Camo Black Brown (vallejo) (1:1) to paint the shadows under each fur flap. For this I used a layer consistency. Note that this is absolutely not a wash, I placed the paint carefully in the crevices. The reason that I didn’t use a wash is that I did not want to loose the highlights, and also because this way it felt more controllable.
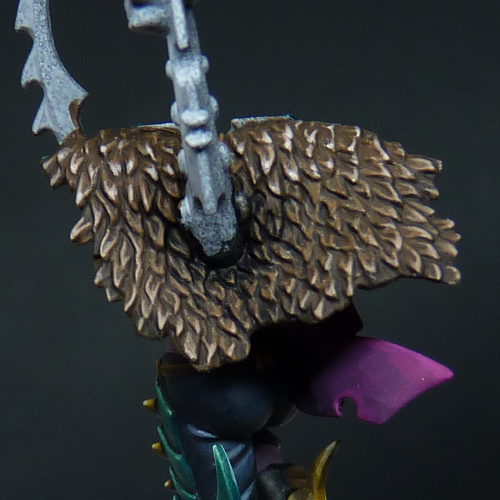
Second shadow
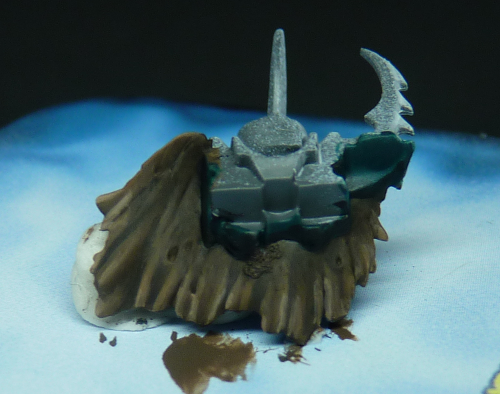
Using a mix of German camo black brown and chaos black (1:1) I painted in the shadows near the pole. Only in this area I wanted the dark shadows, just to give some depth to the fur cloak.
Note: The picture is slightly overlit, therefore it might appear that the cloak is lighter after this step. I assure you that is not the case 🙂
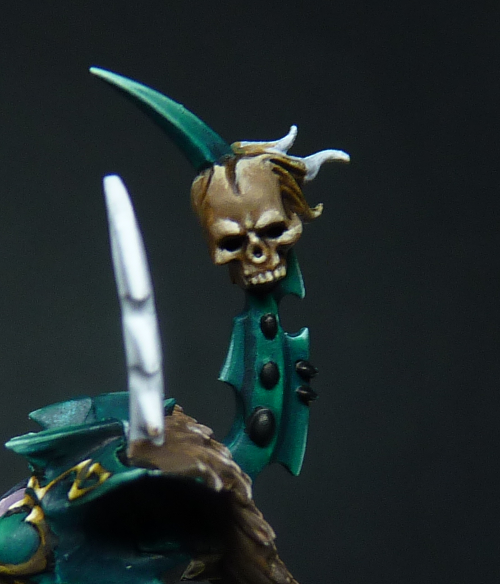
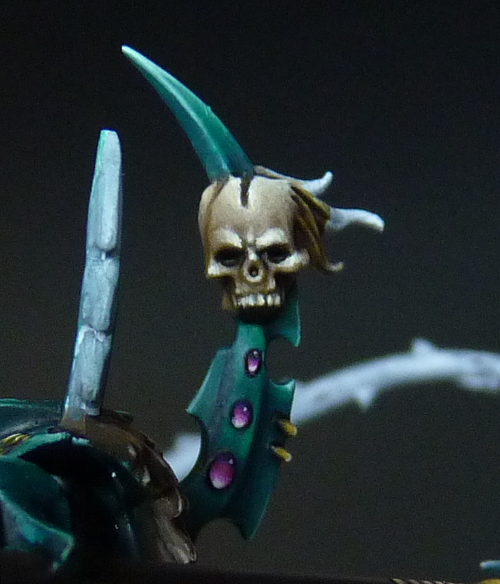
Skull
I have been a very bad step-by-stepper as I forgot to take pictures between the steps. As boring as I think it is to paint fur, I really enjoy painting bones and I just got carried away without snapping any shots.
I will write down the steps nonetheless, so you know what colours I used. I often use these colours for bone, as it gives an aged look that I like a lot.
Basecoat
I painted the whole skull in Graveyard Earth (GW old colour).
Wash
For fast shading I use a wash of Devlan mud (GW old wash) over the whole skull. The wash is taken straight out of the pot.
Basecoat again
Leaving only the tiniest areas dark (the eyes, the nose hole, the holes beneath the cheekbones and the cracks on top), I used the basecoat again to lighten up everything
First Highlights
I added Ushabti bone (GW) to the basecoat and paint it in every smaller areas. I make sure to emphasize the teath, the nose, the eyebrow bones, the cheekbones and top of the skull. For each consecutive layer I added a bit more Ushabti bone until the colour was pure UB.
Second Highlighs
For ever smaller areas I added Pale sand to the Ushabti bone. Again adding Pale Sand until I reached a layer of pure Pale Sand colour.
At this point I ended like this, and I thought I was satisfied. But then looking at the pictures I didn’t like it so much. Although the skull had a different tone, it resembled the fur cloak too much. Also I thought it was just a bit too dark. I also thought it didn’t look clean enough.
Applying more highlights
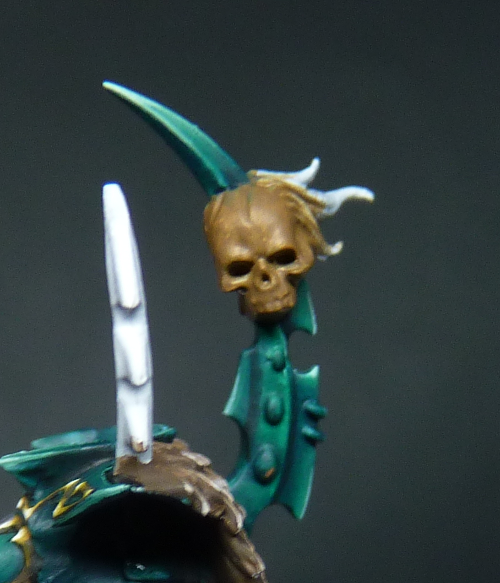
So I decided to lighten up the whole skull and clean it up as well. What I did is I re-applied the first and second highlights in a much larger area on the skull. I left less basecoat on the forehead area where the difference is clearly visible.
Spot Highlight
Because everything was a lot lighter I felt I needed another highlight. I decided to paint a spot highlight using a mix between pale sand and white (1:1 ratio).
At this point I was much more satisfied 🙂
And this is where I will end this part of the step-by-step. I hope you enjoyed yet another long post :). Please let me know what you think, and as always questions are very welcome. Feel free to share this with all your painting friends!
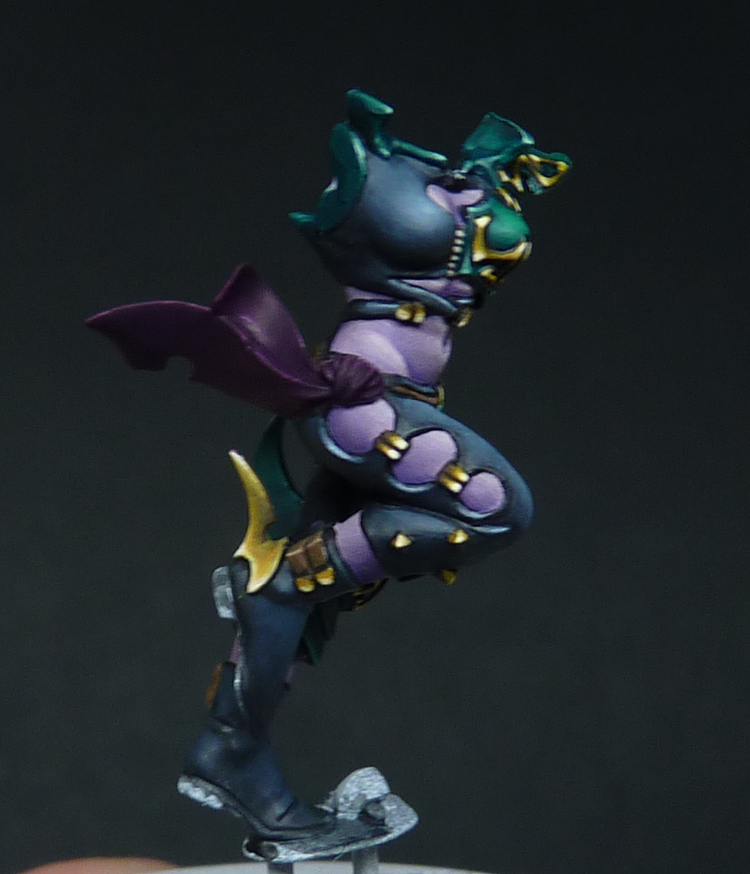
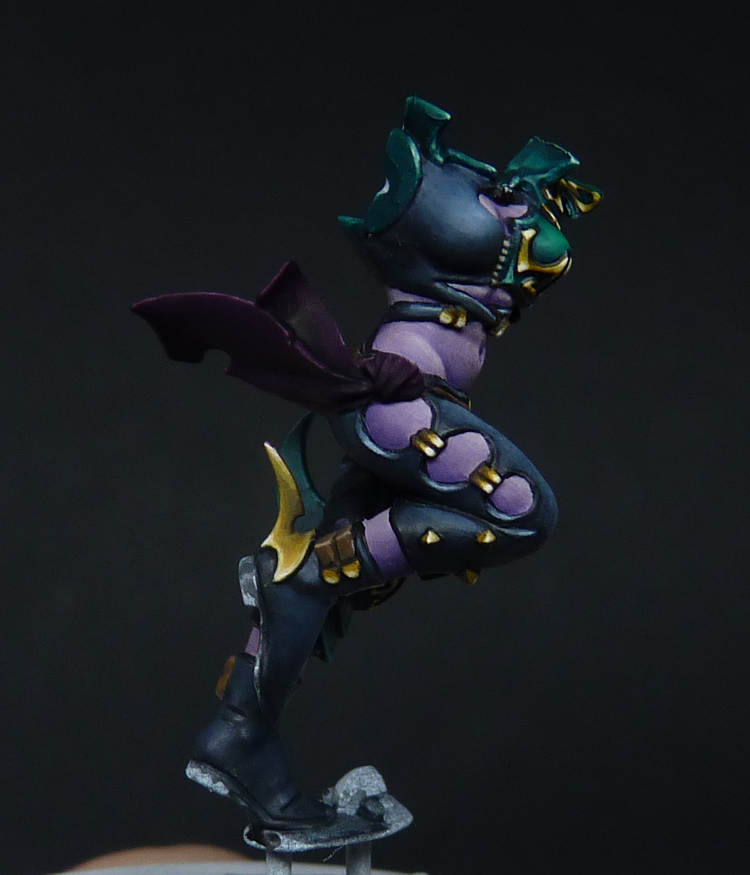
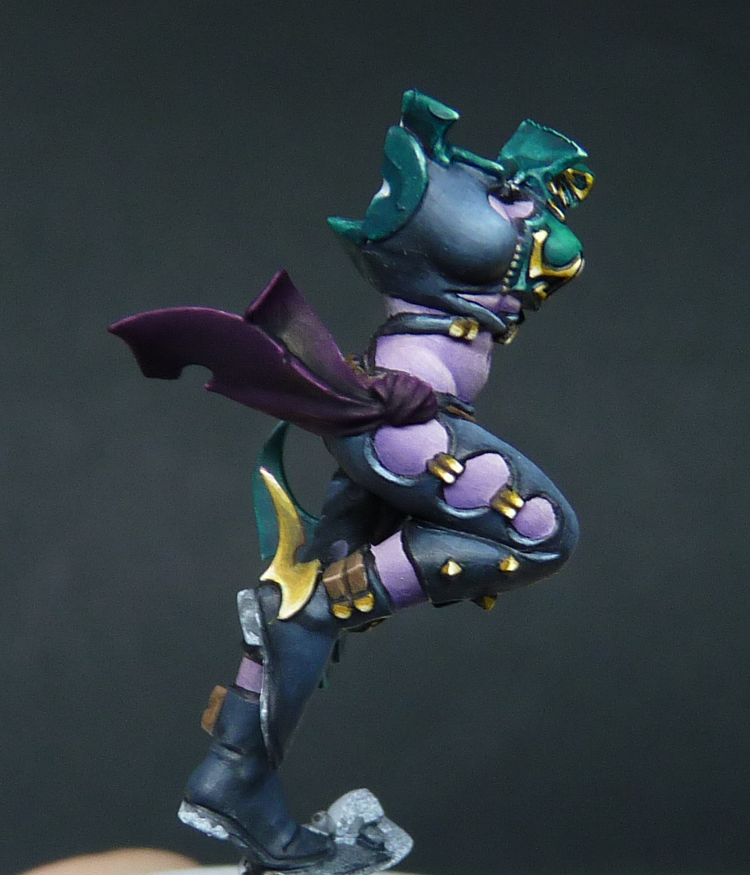
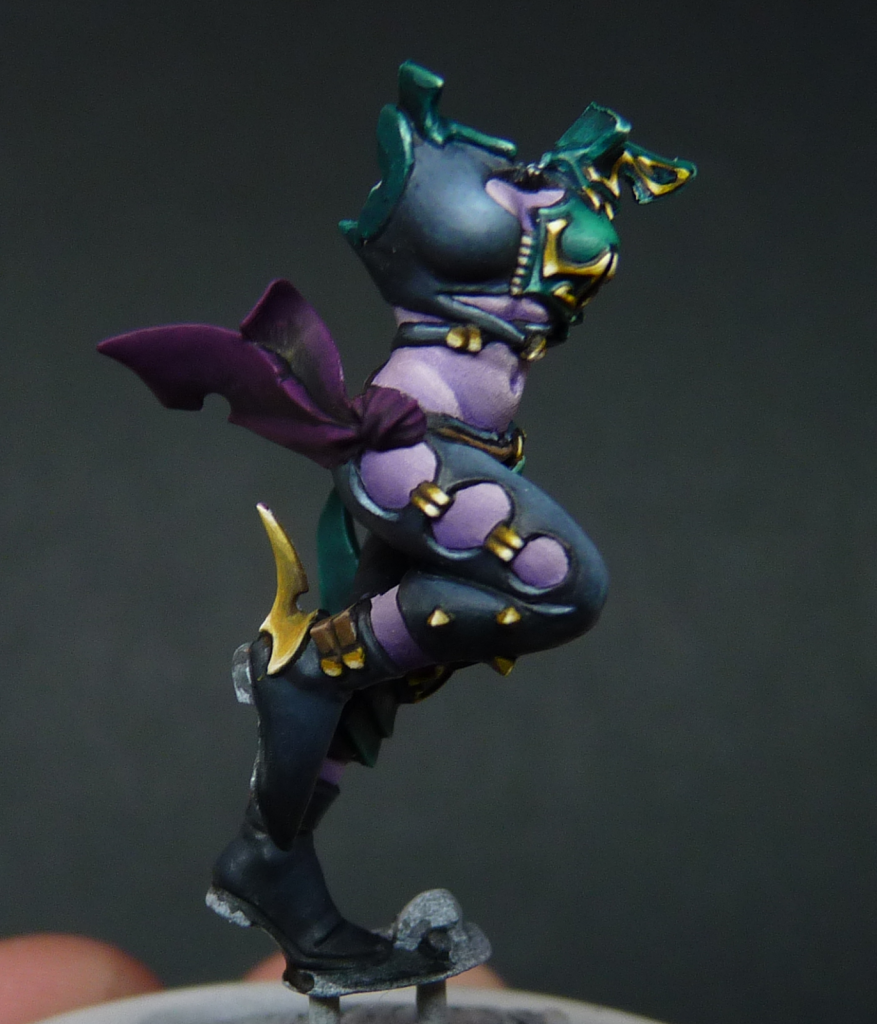
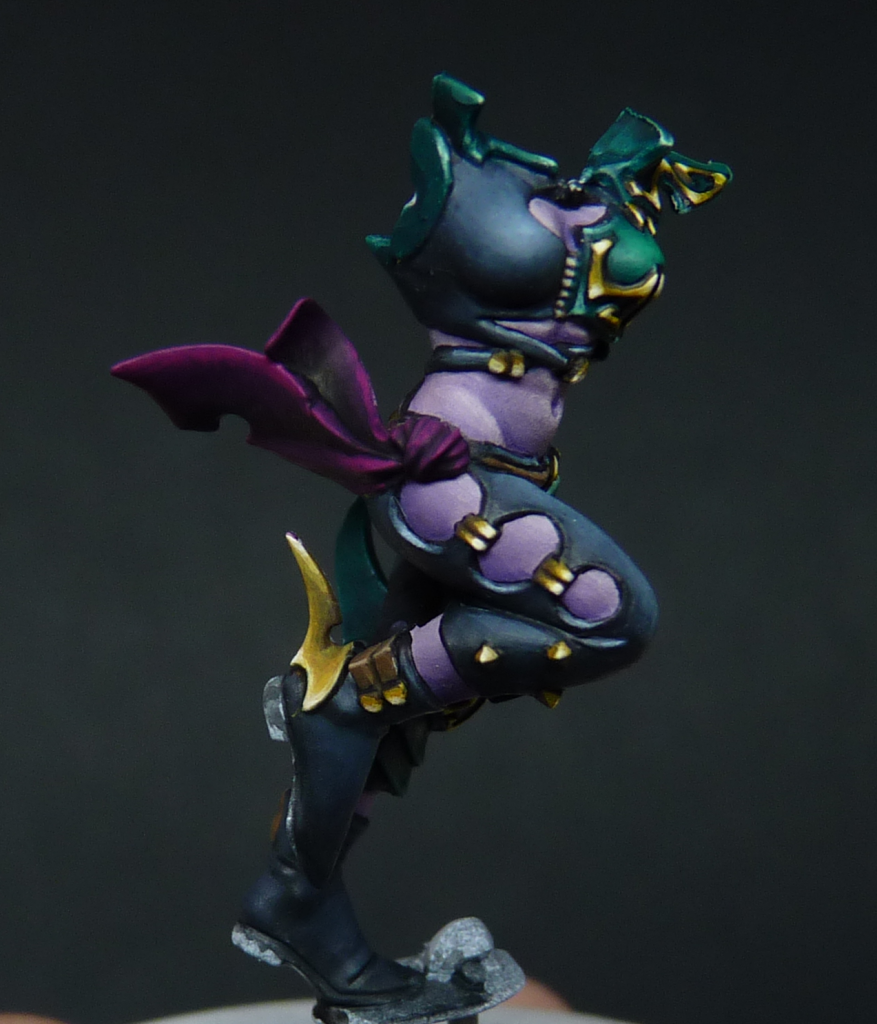
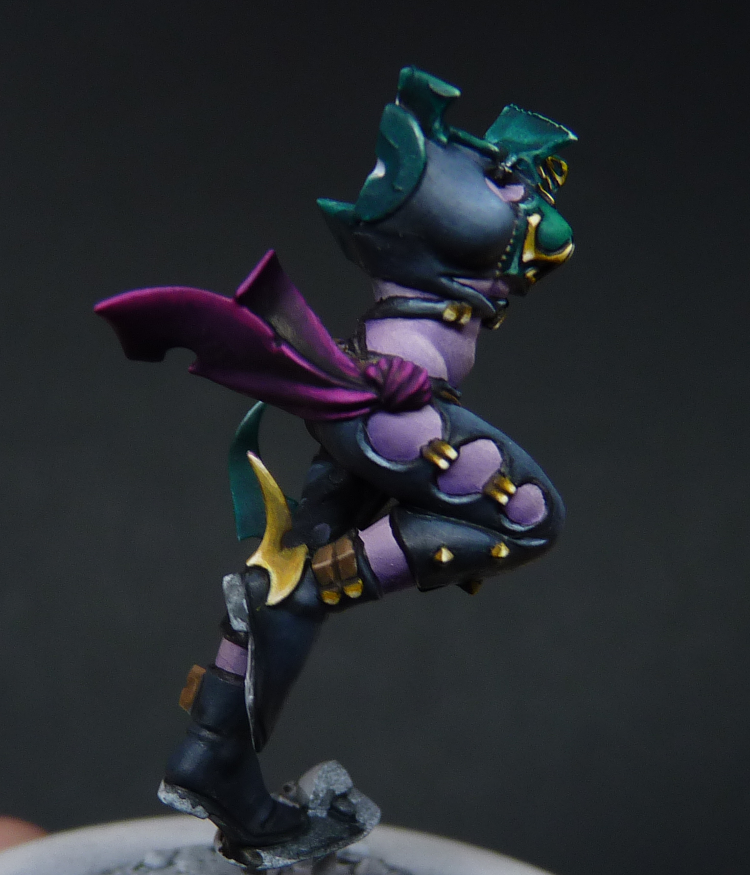
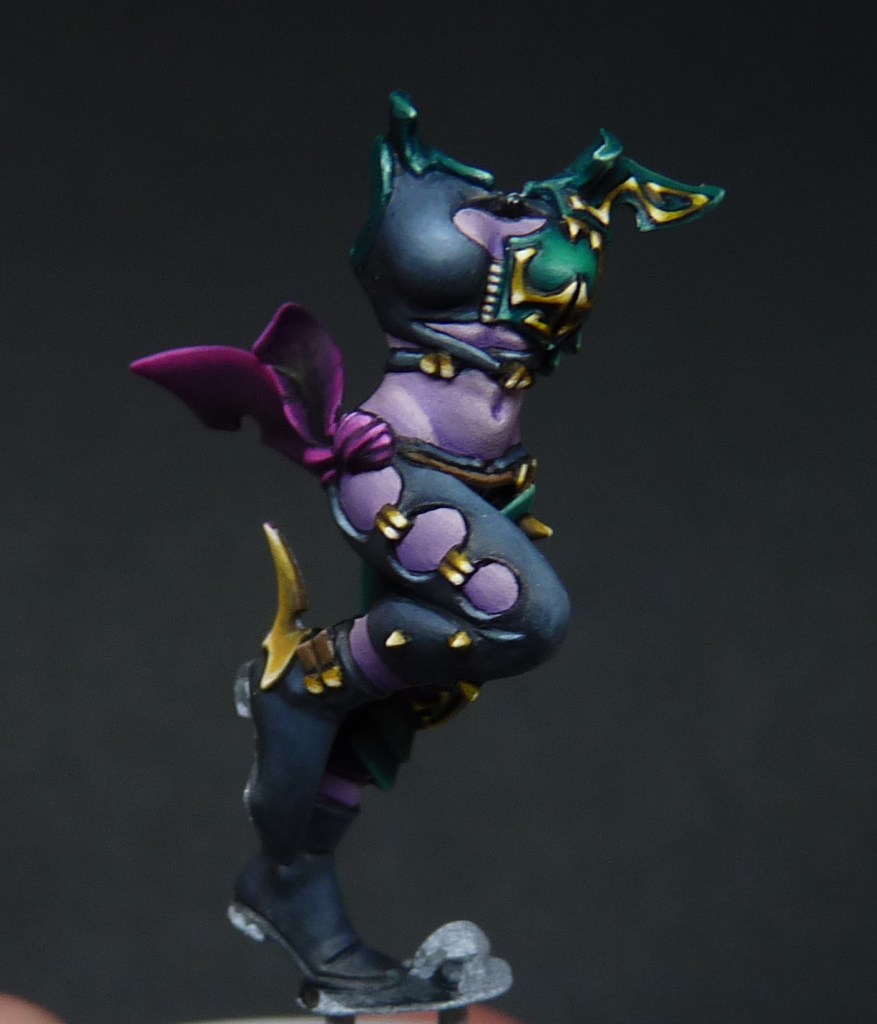
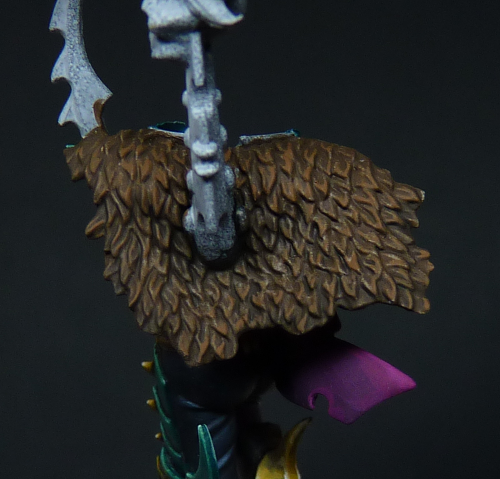
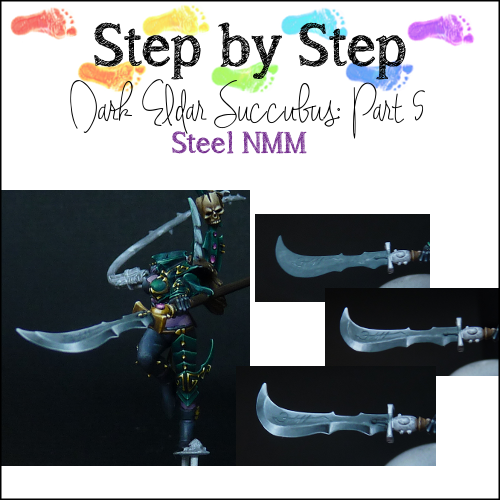
I will end this post by showing you what the current state of the mini is, so you have an idea of what is coming next 😉
See you soon dear friends!!!
