Hi everyone!
I think many mini painters can relate: when you post a picture of your minis, either work in progress or finished, often other painters will ask: what colours did you use? How did you paint this? What techniques do you use? etc. Of course, I never mind answering those questions, as that is what a community is for, we share & care!
This time, I was thinking that maybe it would be nice to take pictures of the whole process of painting a mini. Step by step. I always enjoy reading / seeing other people’s full mini SBS-s so when I wanted to start painting this Dark Eldar Succubus I decided this will be the perfect mini for my own SBS.
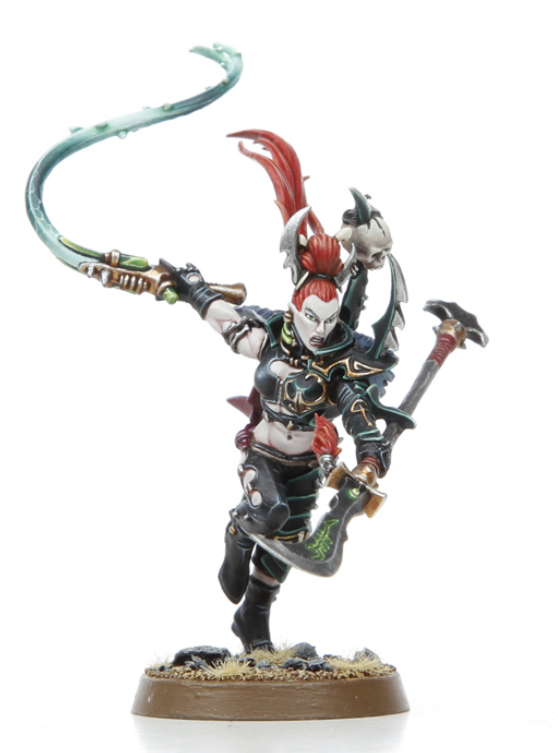 |
| Dark Eldar Succubus – GW studio paintjob |
Because I talk much, and because the process is long, I will split the SBS into several parts. As I am still working on this miniature, I cannot specify exactly how many but let’s just see how it goes.
In this first part I will cover the priming of the model, preparations for painting and the full process of painting the skin. I hope you enjoy following me in my painting process 🙂
The light in the pictures is a little harsh, it would simply take too much time to set up a photo area for each step (my whole working area is 50 by 50cm so a fixed photo area is no option). But the process should be clear to see on the pics 🙂
Picking the colours
Sometimes I like to work with a pre-determined colour scheme. I print a copy of a picture from a mini in black & white, and I colour it in to see how the colours fit. Sometimes I go on the fly and sometimes I take inspiration from studio paintjobs or works of other painters.
This time I plan on slightly following the studio paintjob. With two major exceptions: I want the skin to be more purple, more alienesque and therefore less human, with a cool undertone. The second exception is the colours of the armour, in the studio paintjob it is hard to tell the black leather parts from the green armour plates. I don’t like that. I also don’t like too much edge highlighting, so I decided to paint it a little different.
Prepping & Priming
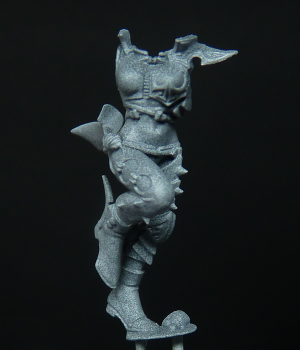
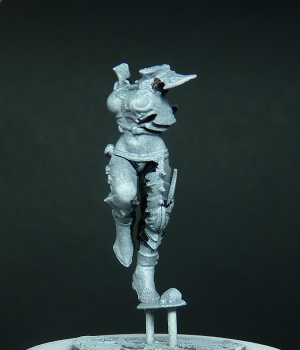
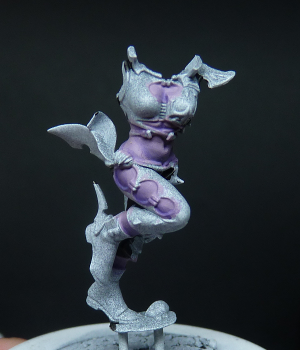
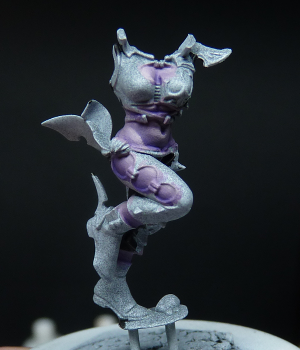
This is a multipart plastic mini. So I started with cutting the parts from the sprue and cleaning up mould lines and bit of sprue. I got rid of a hairy fluffy bit on the weapon, don’t need it and I got rid of the chain on the back, didn’t like it. After that I assembled only the two parts with the legs and torso. For me it is easier to paint that was. With such dynamic miniatures extremeties can get in the way of your brush and I don’t like that.
1) So I primed the mini with a very light coat of Tamiya Surface primer in white. More is not needed and it is better to give a light coat to prevent details from being lost.
2) Then I find it easy to start blocking in the hard to reach areas with black. Since you cant really see it as they are in the shade, I don’t want to make it hard on myself so just painting it black is the easy way. If you want less comical or softer shadows you can add some brown or blue to the mix, depending on the effect you want.
That’s it! Prep work is done, let’s get to the interesting part 🙂
Painting the skin
As I mentioned before I chose to paint a purple. But be aware that this skintone is quite different from the skintone of the Dark Elf Sorceress I painted earlier. The skintone for the succubus will be cooler, less human-like. I believe I read they don’t spend much time in the sun, so I will use very little warm colours for the skin.
An a side note, this colour palette is again different from a third type of purple skin tone I painted, which can be found here. All colour palettes are HERE.
This is the colour palette that I have used:
From left to right:
- Naggaroth Night (GW base)
- Genestealer Purple (GW layer)
- Slaanesh Grey (GW layer)
- Golden Skin (Scale 75 colour)
- Pallid Wych Flesh (GW layer)
- Pale Flesh (Scale 75 colour)
The colours itself are really meaningless without the mixes, so you can read about that below. My philosphy is as follows: skin is not one dimensional, it has different tones within it. Even for a cooler skintone I have added some warmth as I feel it gives more life than just purple would do. For the moment, I have not added a complentary shade for the shadows yet, but I might do that later on.
A slight note on technique: I like to use a layering technique, using diluted paint. I don’t know the exact ratio, but it is somewhere around 1:1 paint and water. This I use to paint on the different layers. In between steps I like to use more diluted paint to make smoother transitions. Of course, sometimes I also wet-blend or use the so called push-and-pull technique where you push the paint toward the area you want it to be.
Basecoat
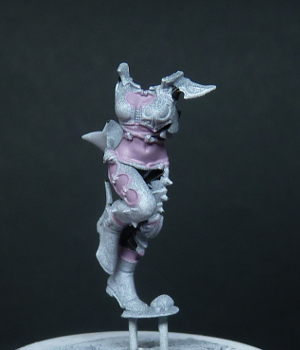
For the basecoat I made a mix between Slaanesh Grey, Golden Skin and Genestealer purple. The mix was about 3:2:1. I diluted the paint and painted all the flesh areas with this mix. It took my about three coats before the colour was opaque. I like to have the basecolours opaque as that way I can make smoother transitions later.
First Shade
For the first shade I added a little bit of Naggaroth Night (NN) to the basecolour. I think about 2 parts basecolour to 1 part NN. NN is a colour from the “base” collection of GW. It is designed to have more coverage. I don’t know if it really has, but using this as paint did make it a bit hard to make smooth transitions on the first go.
I painted this first shade to the areas that are in the shade, such as between the belly button, below the belly and on the underside of the leg.No need to make everything smooth just yet, I did that later.
Second shade
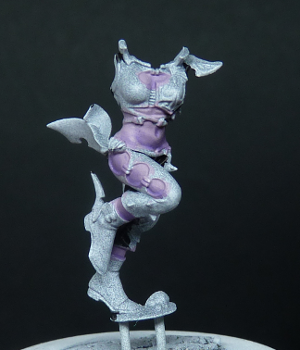
Again I added some more NN to the mix, and painted an even smaller area, covering the previous shadow.
Smoothing the shades
I used some diluted mix of the basecoat to smooth the transitions in the shades. For this to work, I try to make the paint more transparent, with consistency of a glaze.
Edit: in Part 2 of this step by step I will add some pictures that hopefully show the consistency of the paint 🙂
First highlight
Then I started working on the highlights. I started by creating a 1:1 mix between Pallid Wych Flesh (PWF) and Pale Fleshtone. Let’s call this the highlight mix. I chose this because PWF is a little too grey for my taste, so I added the yellow/pink tone to warm it up ever so slightly.
I painted the first highlight by mixing in the highlight mix (1 part) to the base colour (2 parts). I painted this on the areas that needed to be lightest, making sure to leave an area of basecolour in between the shades and the highlights.
Second highlight
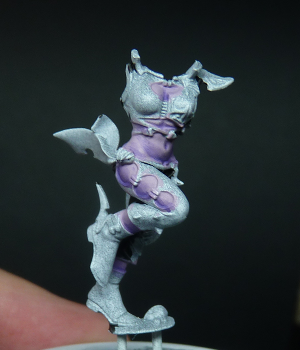
I painted the second highlight by adding more highlight mix. Ratio highlight mix to basecolour: 1:1
Smoothing + final shade + final highlight
For the next step I did many small things, and I forgot some pictures but they won’t be that different anyway.
I started by smoothing the highlights using strongly diluted mixed of the highlight mix and the basecolour. I painted the final highlight of pure highlight mix on the tiniest areas (dots really), and I used a highly diluted Naggaroth Night on super tiny areas in the shadows.
Here I leave the painting of the skin. I might go back to it later, I usually do.
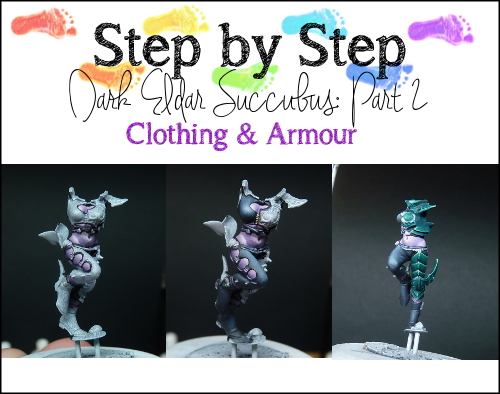
I hope you enjoyed this step-by-step so far. Please stay tuned for the next part: painting the black clothes and the green armour parts.
I would appreciate it if you share this post with all your painting buddies 🙂 Cheers!
