Hi everyone!
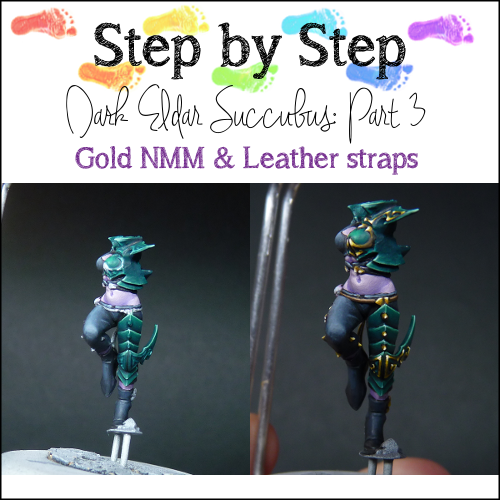
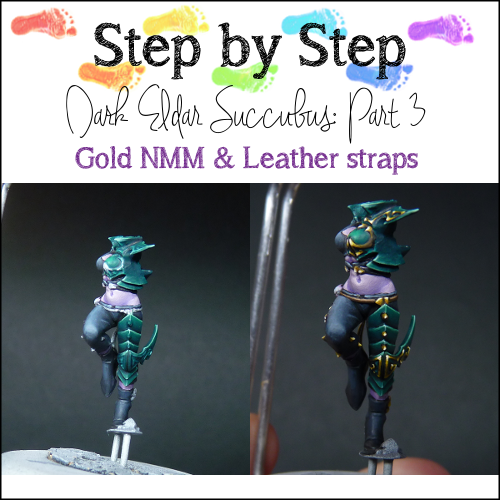
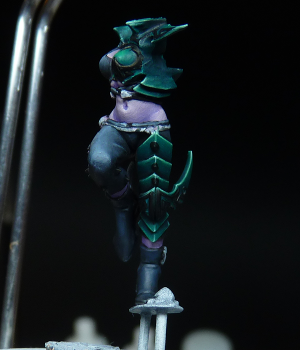
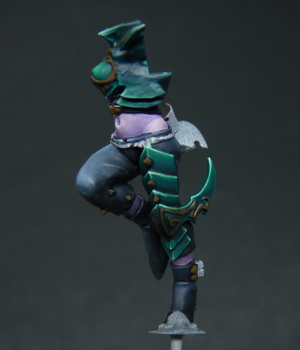
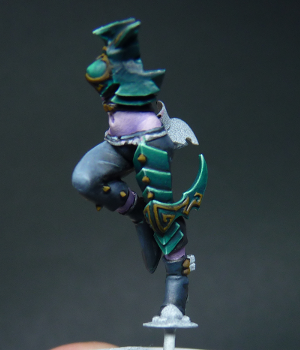
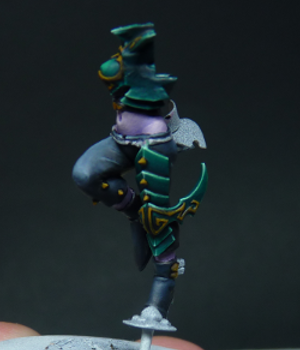
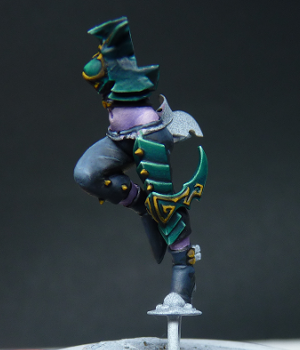
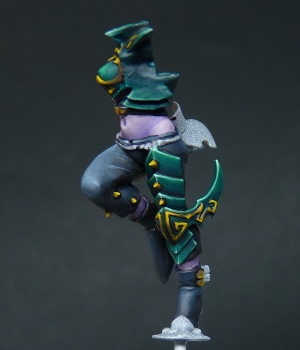
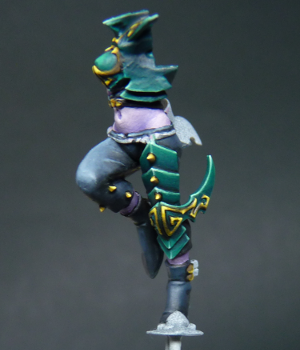
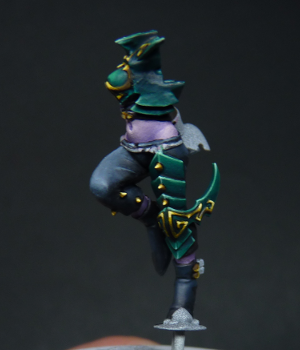
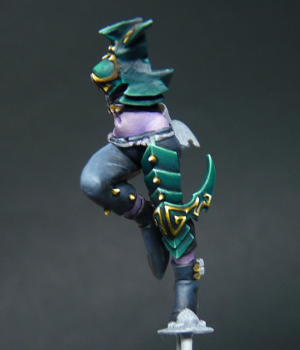
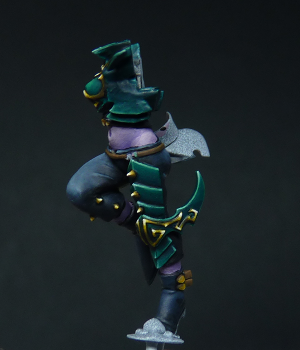
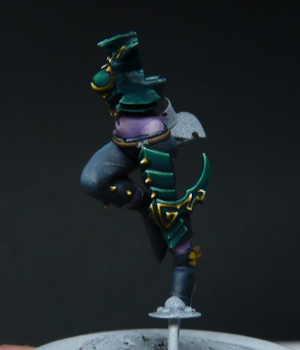
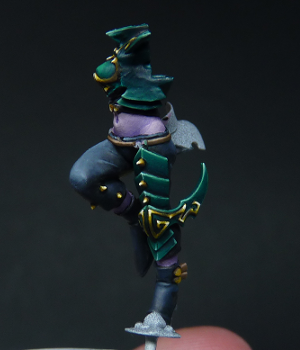
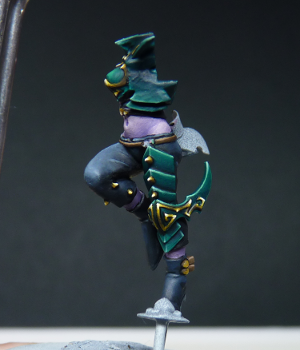
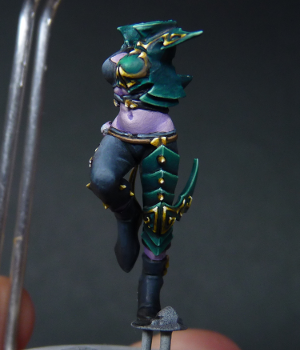
Welcome back to the next step-by-step on the Dark Eldar Succubus. If you want to see how I painted the skintones and the armour, please check Part 1 and Part 2. Today it is time to share one of my favourite parts when it comes to painting: Gold NMM. Gold NMM can be tricky, especially in larger areas as the blending needs to be really smooth for it to look like metal. What I like about Gold NMM is that you can exaggerate it on some minis. Like on this one ;). What is hard for me with NMM is that the colour hue is sometimes difficult to replicate across areas on the mini. Preferable I would paint each step on the whole mini before proceeding to the next step. But, since some minis have a dynamic pose, that is sometimes impossible. In this mini that is the case. So I just try to get it to look as close as possible 🙂
Feedback
Before I begin the next part of the SBS, I want to thank everyone for their support and the awesome reactions I had to the previous parts :). It lifts my spirits that you enjoy my tutorials.
Few of you asked if it is really necessary to use all these steps, and all these dilutions & mixes. Hmmm, that is a hard question! Well, honestly I would say of course not! Everyone has their own style of painting, and you can do awesome things with simple palettes. This is just my way, which is definitely not the only way. Paint however you like to paint :), but mostly have fun!
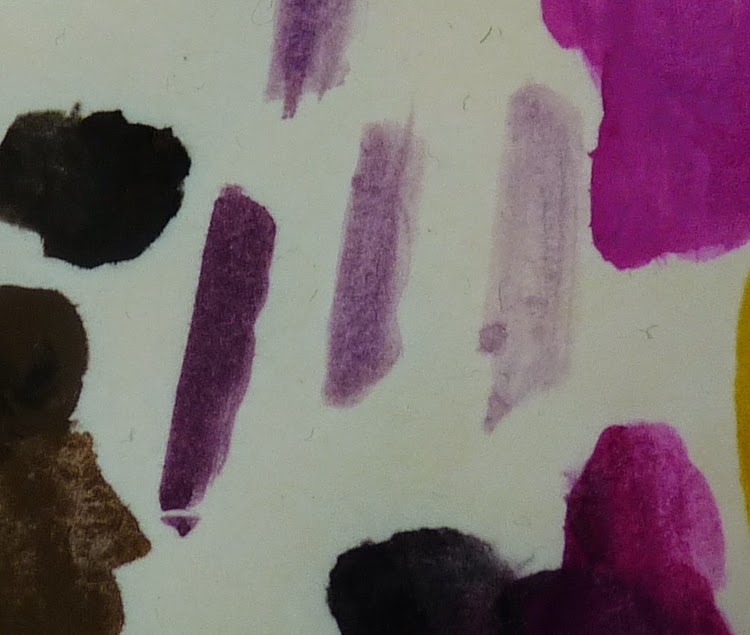
As with the previous parts, these are the dilutions I refer to in the text (from left to right):
For basecoating and for painting gold NMM in small surfaces, for layering, for smoothing out transitions.
Gold NMM
This is the colour palette I have used:
From left to right:
- Chaos Black (GW old colour)
- Chocolate Brown (Vallejo)
- Snakebite Leather (GW old colour)
- Bubonic Brown (GW old colour)
- Flash Gitz Yellow (GW layer)
- Pale Sand (Vallejo)
- White (Vallejo)
While this palette looks similar to a Gold NMM recipe I posted before, it is actually much colder in tone. This is because I left out the Bestial Brown (which is a warmer brown) for this Dark Eldar mini. Also, I used a little less yellow in the mix and instead of mixing yellow with white for the highlights, I added pale sand, so that the gold becomes a bit less saturated.
Blacklining
I start by blacklining the parts that will be gold NMM in Chaos Black. In the armour details this means that the whole NMM area is painted black, as it is such a tiny element.
A little sidenote: For Gold NMM I have two approaches. Depending on the surface area that I need to paint I use either one of the approaches: On the tiny parts that are NMM I usually use very undiluted paint (for my standards). Instead, I like to use more mix steps in between and get transitions that way. I usually start with the darkest shadows as a basecoat and work my way up to the highlights. For larger surfaces, I like to start with a midtone (50% Bubonic Brown, 50% Snakebite Leather for example) and paint shadows and highlights much like on the armour and the skin)
Basecoat
Using pure Chocolate Brown I paint over all the gold NMM details, leaving only a very tiny part os black at the edges as for blacklining.
First Highlight
I cover a large part of the surface with a mix of Chocolate Brown & Snakebite Leather (1:1), leaving just the tiniest areas dark.
Second Highlight
On an evermore smaller area I paint pure Snakebite Leather. This is still most of the area, just leaving the tiniest bits for the shadows.
Third Highlight
In this step I added Bubonic Brown and a little Flash Gitz Yellow to the previous mix (2 parts Snakebite Leather, 2 parts BB and 1 part FGY), and I painted this in smaller areas again.
Fifth Highlight
Now it is time to start the brighter highlights. I add a little bit of Pale Sand to the previous mix (about 2 parts fourth highlight mix, 1 part Pale Sand)
Seventh Highlight & Spot Highlights
On the smallest areas I paint a mix of 50% Pale Sand and 50% White. Then I add spot highlights of pure White. This is the final step and the NMM is finished. Afterwards I cleaned up some transitions in the midtones slightly using the Bubonic Brown and Snakebite Leather.
Leather straps
This model has a few straps that I wanted to paint in a leather colour. As this is again a very tiny area, I used less diluted paints. In the basecolour consistency as I described above.
The colours I used are:
- Leather Brown (Vallejo)
- Gorthor Brown (GW layer colour)
- Pale Sand (Vallejo)
- Devlan Mud (GW old wash colour)
- Gryphone Sepia (GW old wash colour)
Basecoat
After blacklining the strap, I painted the basecoat of pure Leather Brown.
First Highlight
I painted the top part of the belt using a mix of Leather Brown and Gorthor Brown (1:2 parts).
Second Highlight
Here I use the edge highlighting technique. I explained before that I don’t like it on a whole mini but on some areas it can look nice and it is very effective. I also used it on the highest highlights of the armour. I edge highlight the belt using a mix of Gorthor Brown and Pale Sand (3:1 parts).
I hoped you enjoyed the third part of this Step by Step :). Any feedback is welcome! On the next part I will progress through the painting of the pink scarf, the skull and the fur on the back of her cloak.
See you soon!
