Hi everyone!
Today I would like to share a new step-by-step article with you. This time I will show you how I made the base for the Savior model (pics of the finished piece will be posted soon).
I struggled a bit to find a suitable base theme for the lady, as she is slightly schizophrenic in terms of genre. There is some fantasy, some steampunk and some apocalyptic theme found in her (I think). In the end I decided to go with my gut feeling, and how I saw her mostly. As a fantasy lady, and I sort of envisioned her as part of one of the Shannara books, which are a post-apocalyptic fantasy. However, I wanted to keep the base simple with some mythical stones to make it more fantasy-ish.
In this post I will show you all the steps I took to make & paint the base, including the material I used. For this base I was really inspired by the work of Oliver Späth, as I love his natural bases a lot!
Step 1:
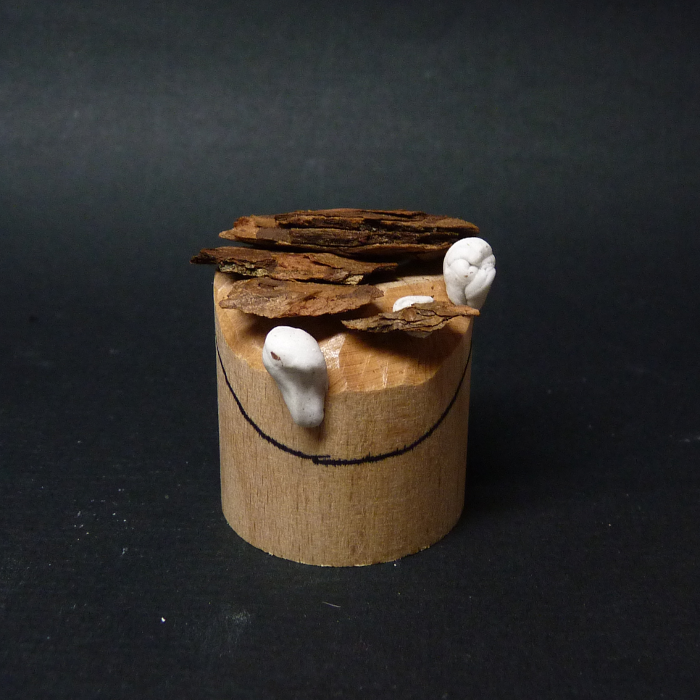
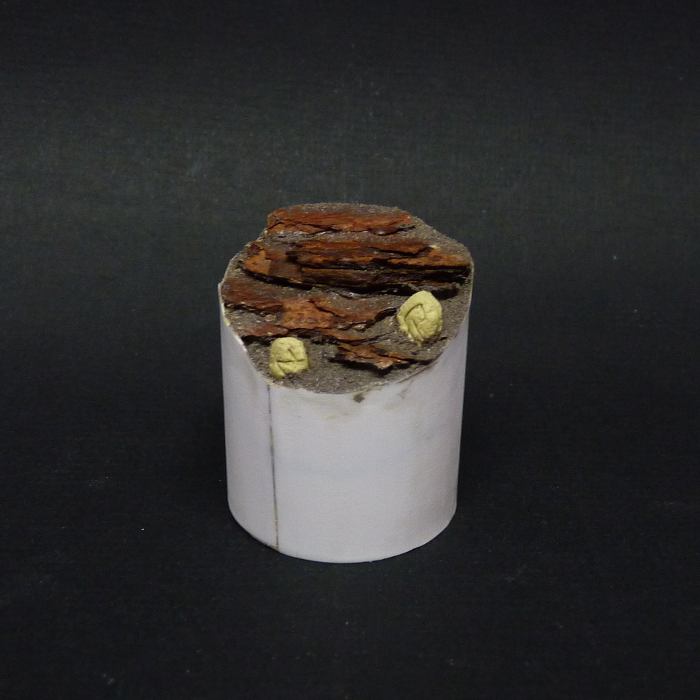
I made a mock-up of the base, just to see how everything would fit more or less. I cut a little corner from the base. Initially I wanted to cut more, but while I was working on it I liked it better this way. I used pieces of tree bark to represent slate stones, and here I used poster tack to give a rough indication where the mythical stones would go.
Step 2:
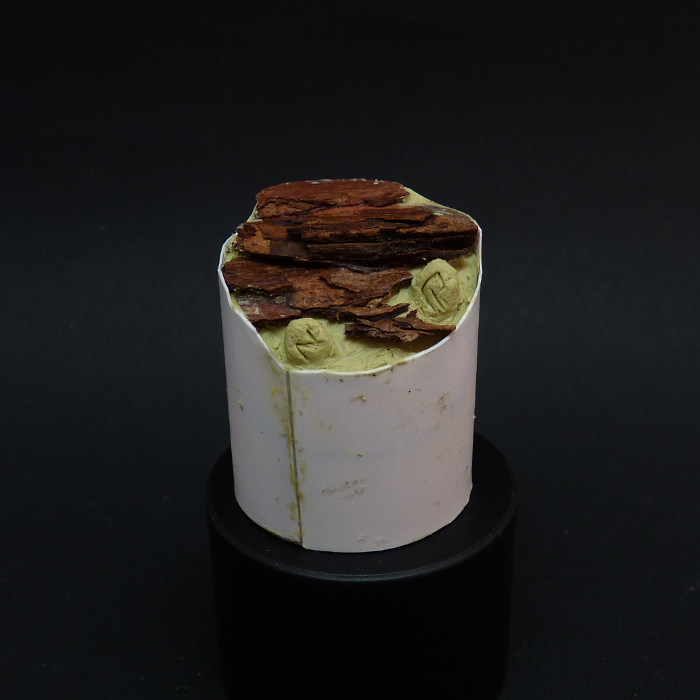
I assembled all the pieces using cork as support. Everything was glued with wood glue. With a mix of Milliput and Procreate Putty I filled some holes, sculpting it to match the surroundings. I also sculpted the mythical stones at this stage.
I added a thin piece of plastic card surrounding the base, because in the end it would look much more neat. The gap was filled with milliput.
Step 3:
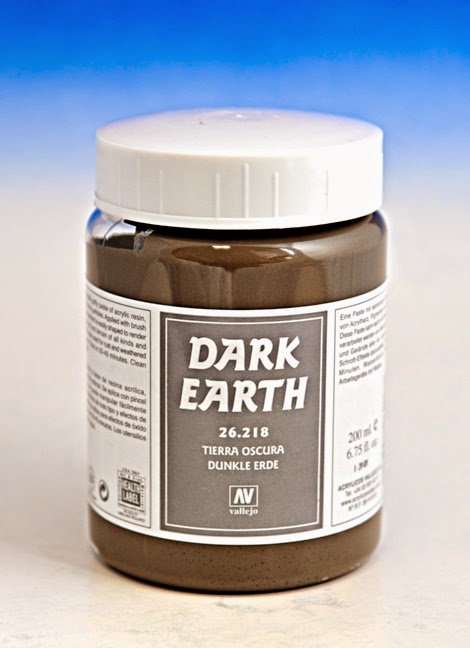
After the putty had hardened I used Vallejo Dark Earth Paste to cover all parts I wanted to be soil, and also on top of some of the stones, because the wind would blow some sandy parts there as well.
I sanded the sides, including the gap in the plastic card to make everything smooth.
Step 4:
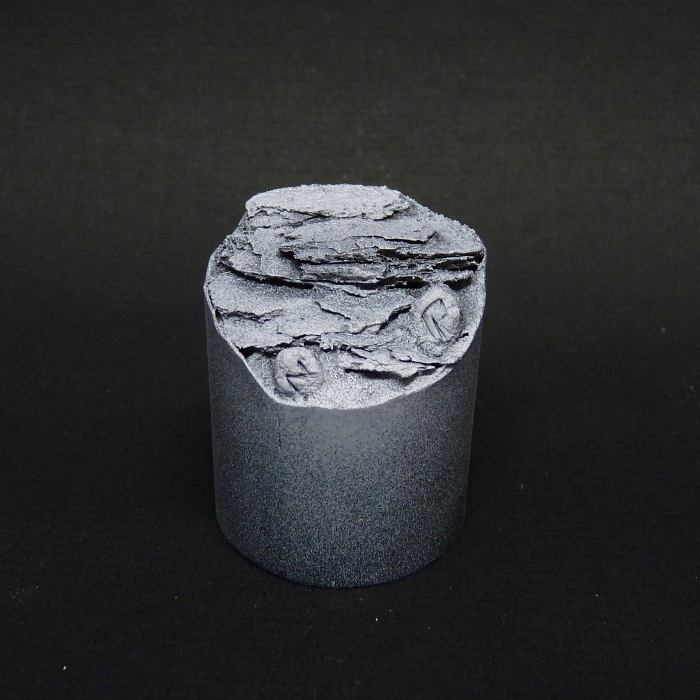
Again, everything had to try for a while. Then I used a black spray primer to cover the entire base. After that, I sprayed white primer, only from above to create zenithal lighting.
Step 5:
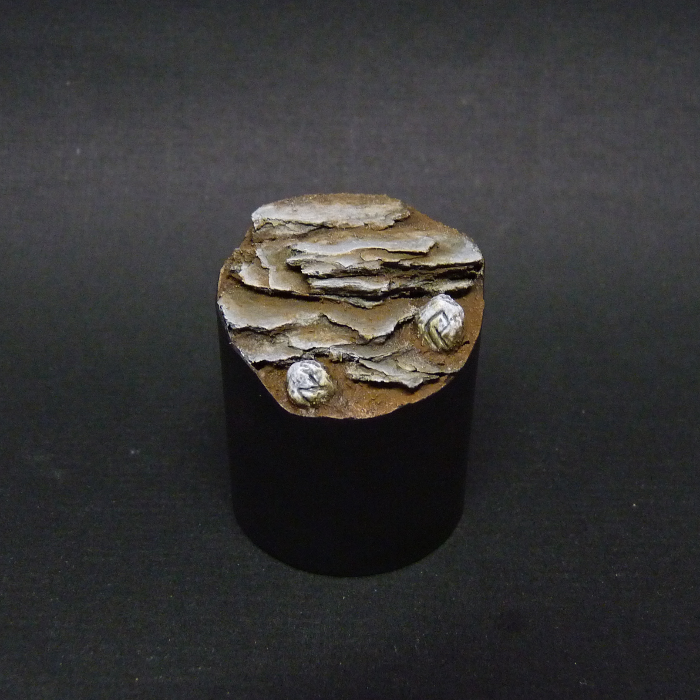
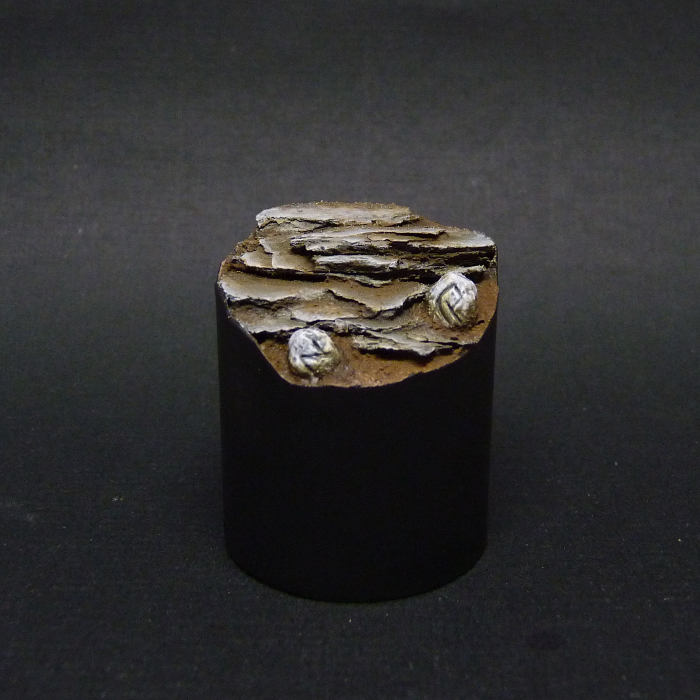
Then the painting started. To make sure that the base and the mini would form one cohesive piece, I used only paints that I also used on the model. Therefore, I used GW Skavenblight Dinge as the basecolour for the stones. I highlighted the slate stones with Pale Sand from Vallejo and shadows were created with glazes of Chaos Black (GW). I used wet-blending & glazes to blend the slate stones. The mythical stones were basecoated in GW Skavenblight Dinge and drybrushed with a mix of Artic Blue (Scale Color) and the basecoat. Final highlight was white. I purposely used different techniques to paint the two types of stones (slate & mythical stones), because I wanted them to look really different.
The soil was painted using Leather Brown as a base, highlights were made with Cork Brown and shadows with German Camo Black Brown (all Vallejo paints). This was all done with wet-blending.
Step 6:
Bring in the pigments!
To create a more natural feel to the base I used pigments to create shadows and a dry soil effect. I used Raw Umber from Model Display Products, Black pigment from MIG and a tiny bit of Light Rust from MIG. I added some more shading underneath the rocks with GW Skavenblight Dinge mixed with black. I also painted moss effects randomly on the base using Moss Green from Modelmates.
The edges of the plinth are painted black.
Step 7:
Bring in the foliage!
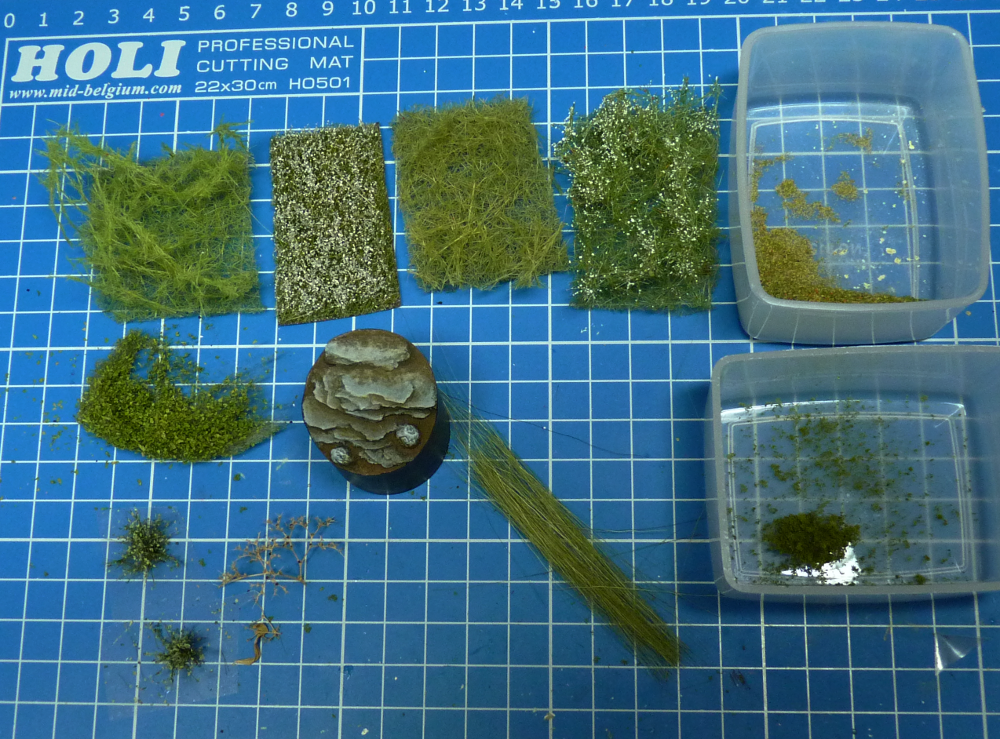
Now it was time to add the foliage. This was quite a dynamic process and it is hard to say exactly what I used. This is the material on my workbench.
I did not want to use tufts straight from the packaging, so I cut up MiniNatur tufts (I don’t remember the type, but I think it was autumn) into smaller pieces which I glued to the base. I added some strands from Polak bushes to create a little interest within each bush. I also used some tall grass from Woodland Scenics to add some more different heights of grass.
The larger bush was created with a natural product, of which I do not know the name nor the company of which I got it. You can see it on the picture above. I used a small piece to represent the stem and branches. On top of that I used some pieces of Polak Naturex Fein to create the leaves on the bush.
For foliage on the ground I used loose parts of the Naturex, Foliage from Woodland Scenics and flock from Gale Force 9.
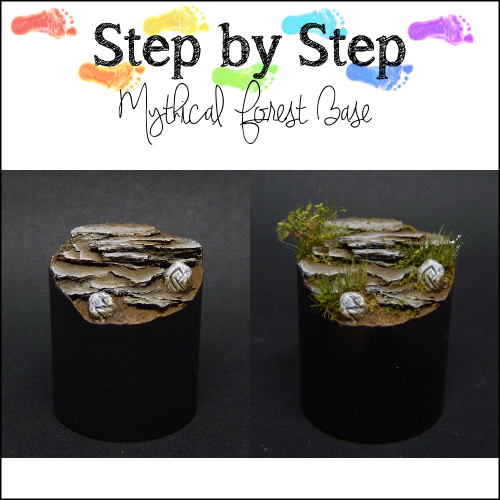
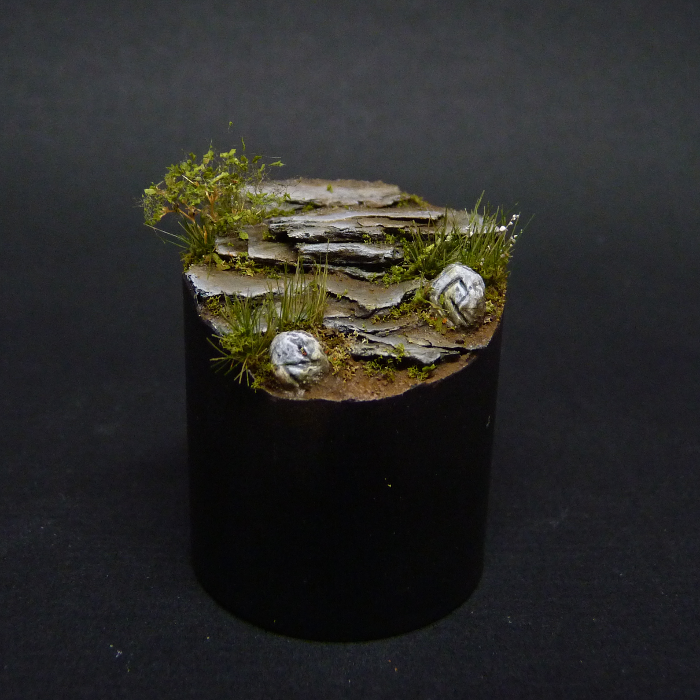
And this is the final result!
I hope you liked this step-by-step :). For more questions, please leave a comment!
MiniNatur Products can be bought from Scenery Workshop & Battlefield Berlin
A large selection of Polak can be bought from Big Panda V
Tree bark can be found in the forest, go outside you’ll love it!
